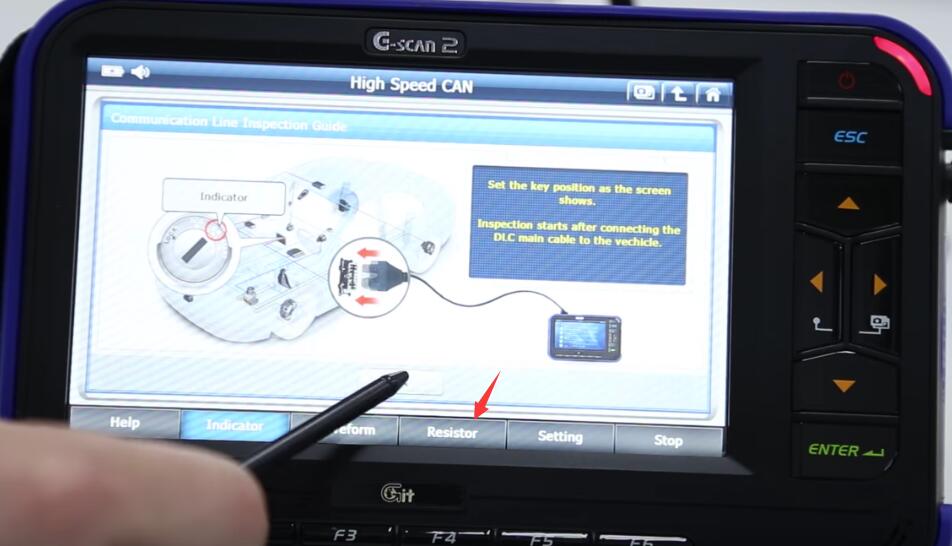
This article show guide on how to use G-scan2 to diagnose automotive CAN Bus no communication error.
Procedures:
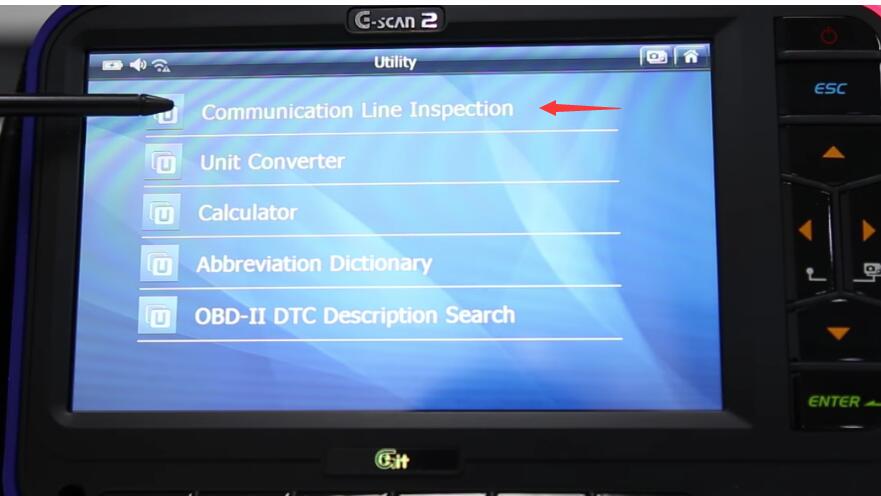
In the utility menu,select Communication Line Inspection.
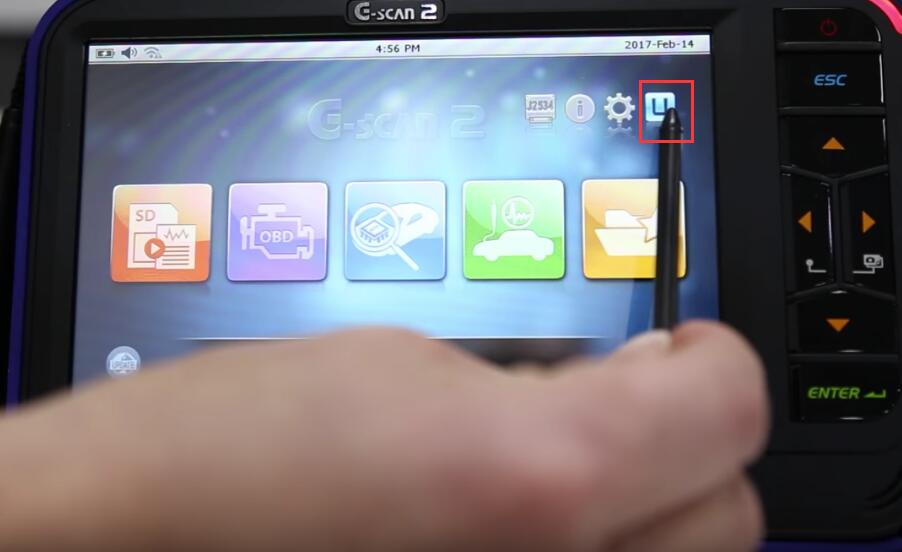
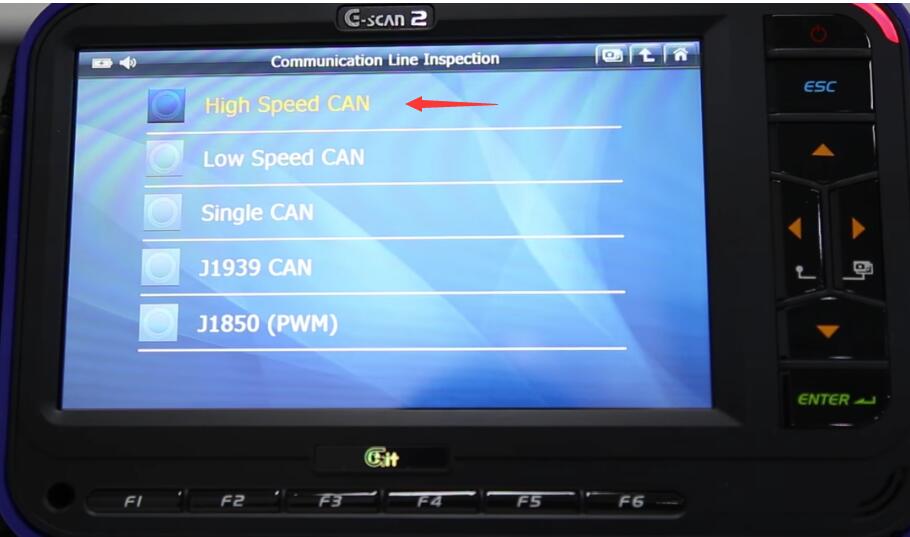
You have options to choose the type of protocol.In this article I am going to demonstrate High Speed CAN.
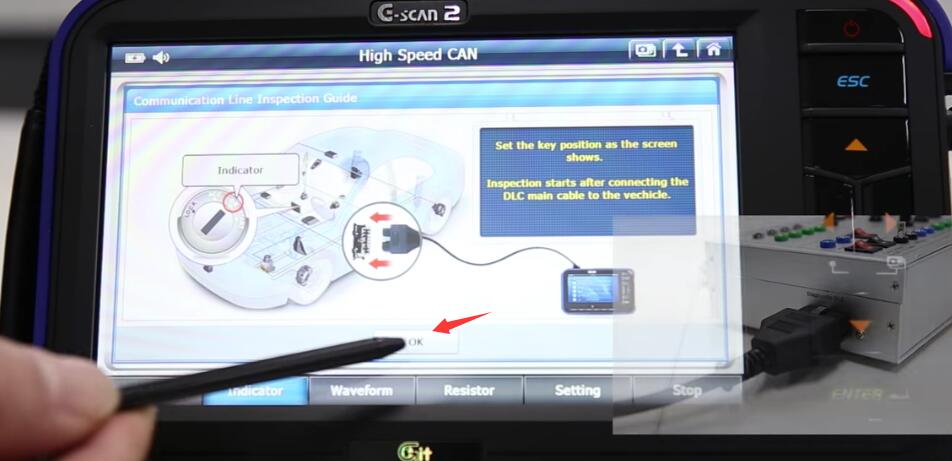
You need to set the key ON position and connect DLC main cable,then hit “OK” button
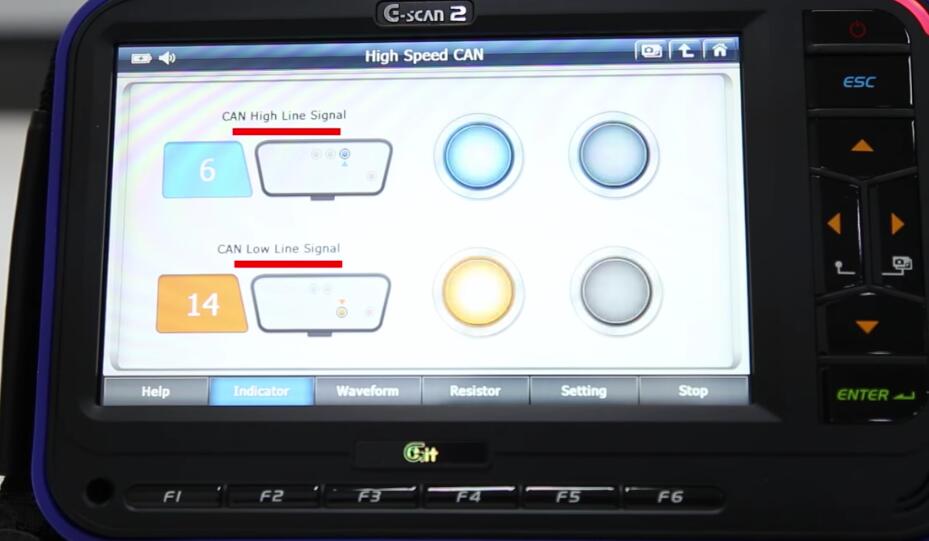
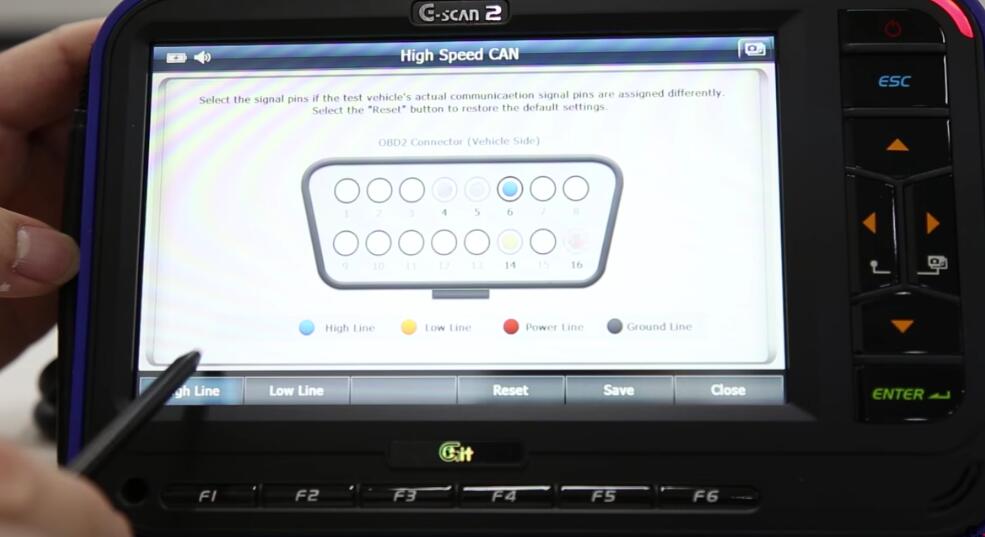
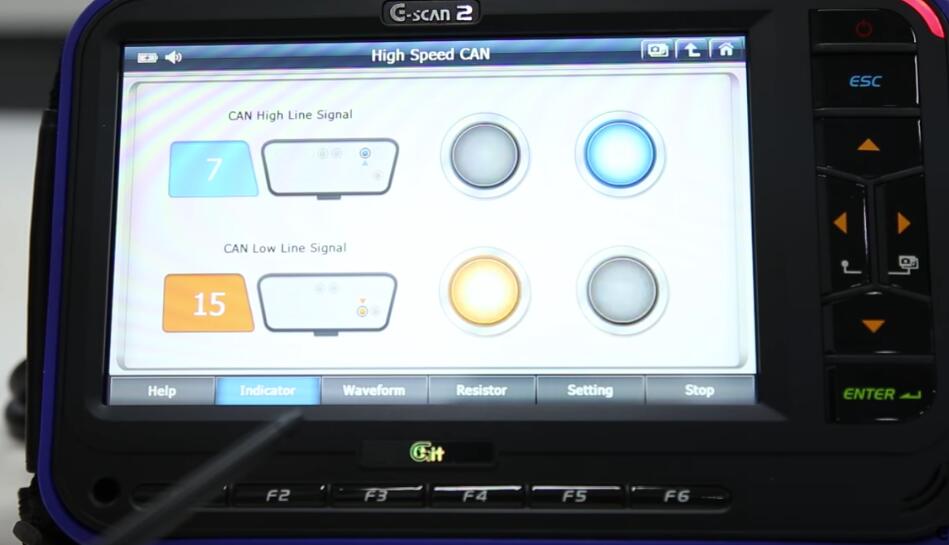
On the left side,it displays high and low signal pin numbers
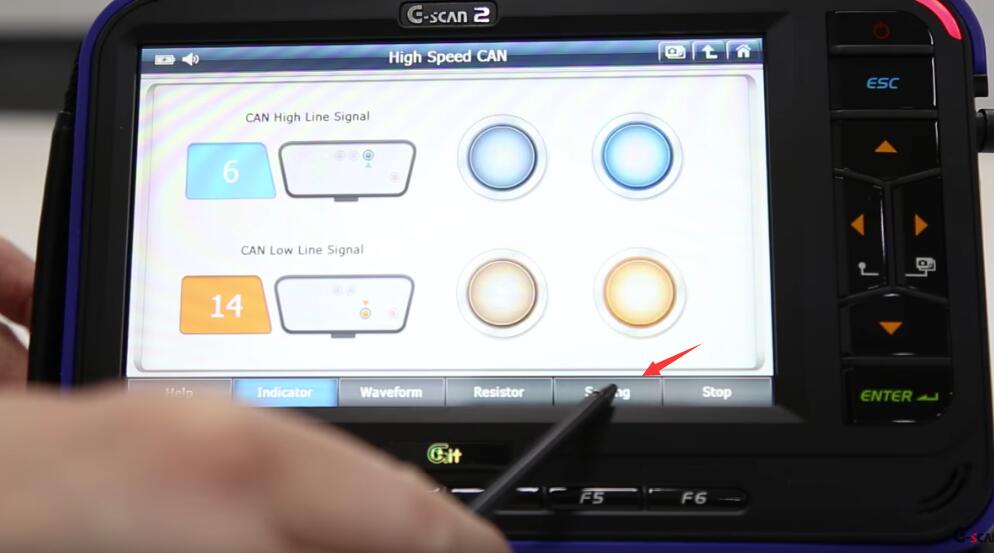
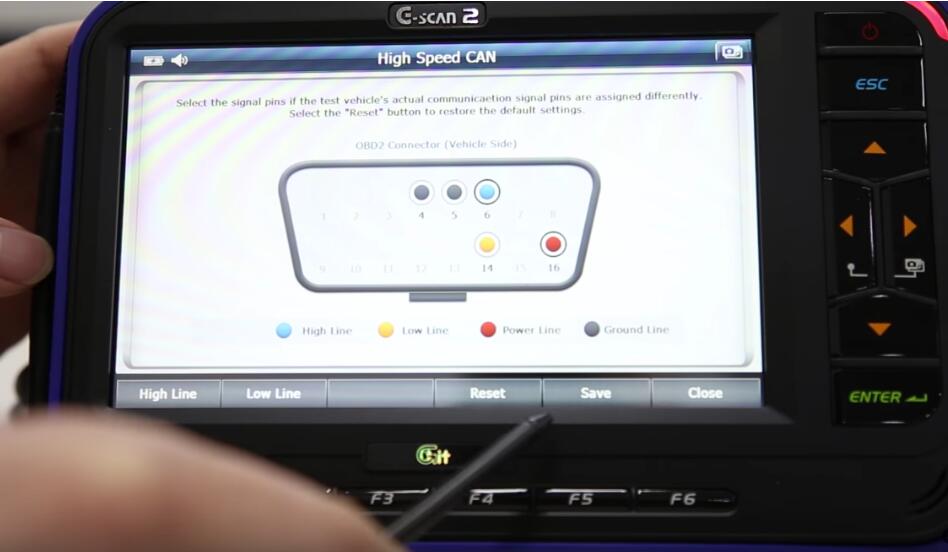
You may switch the pin location in setting
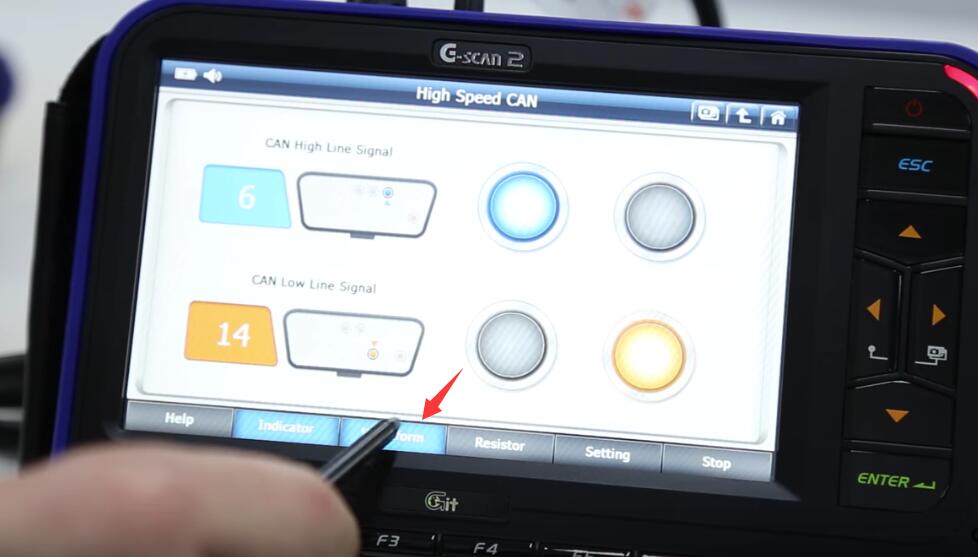
G-scan2 default setting for high line is 6 and low is 14
If CAN line is in properly working order,these indicators will blink,this is for fast check to see if there is CAN signal but please keep in mind that it does not represent the correctness of the signals.
What if I want to check the waveform of CAN signals?
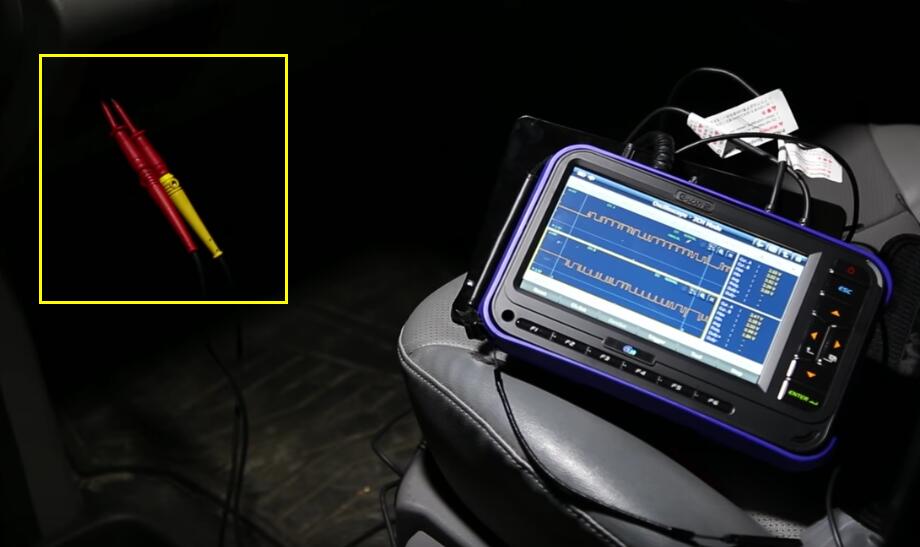
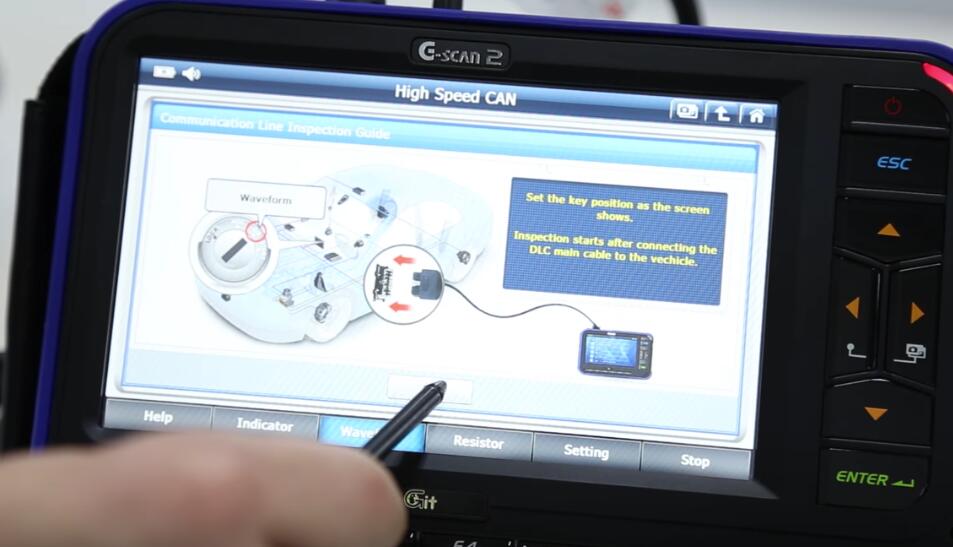
For further diagnosis,you can see the live waveform of high and low CAN signal by selecting this waveform button
Set the key to ON position,connect the DLC main cable to the vehicle,and click “OK” to continue
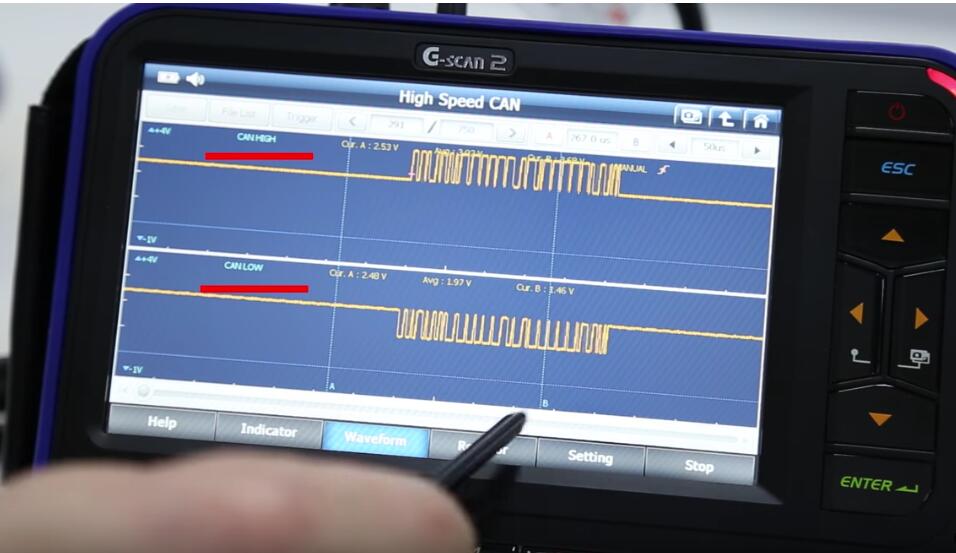
Up here represent CAN high signal and below represents CAN Low signal.
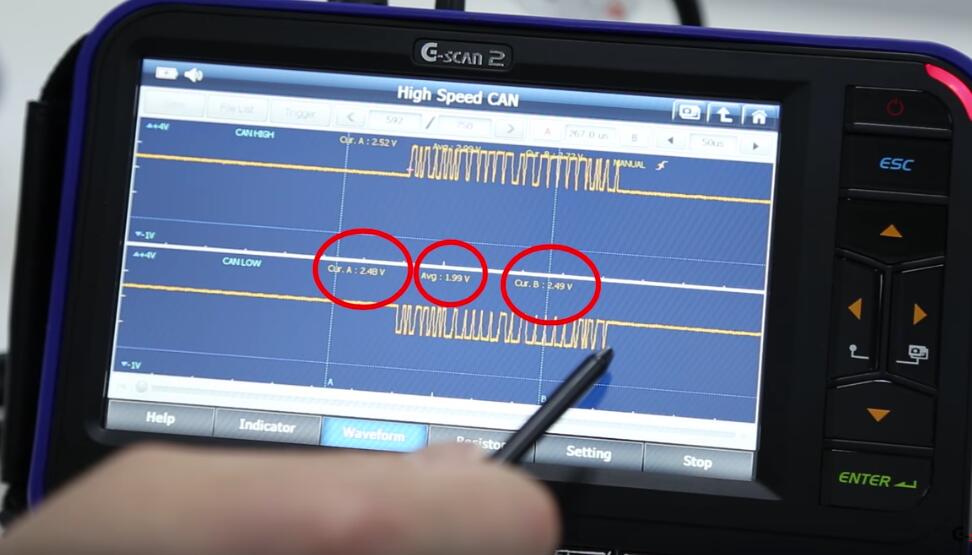
It displays voltages at cursor A and B,and average voltages of entire waveform.
Gscan 2 offers simple check of termination resistor value.Without manually probing your multi-meter to OBD port,you can check the termination resistor of the CAN bus with simply connecting the DLC cable.This simple check can also save you time.
