This post talk on how to change engine oil and oil filter for Toyota 4Runner.And big thank to Toyota-4runner member Antman,I will put this original at end of article.
Here I share his post,hope it is helpful to my blog reader.
What you need for Oil & Oil Filter Change?
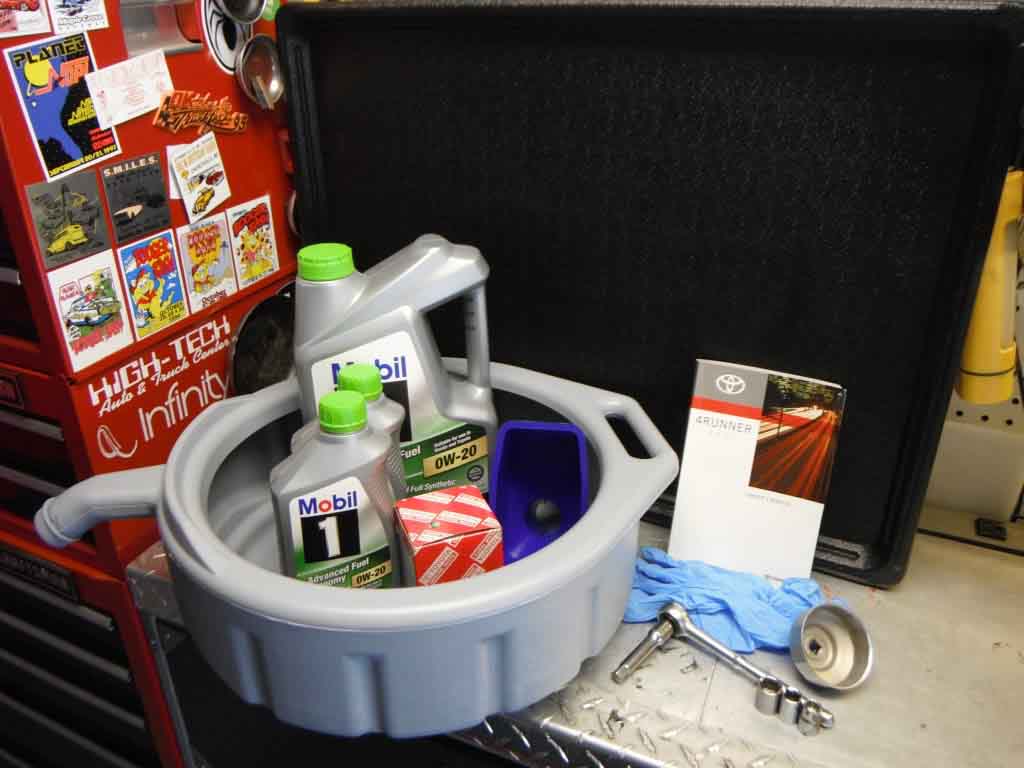
7 Quarts (you need 6.6) of synthetic 0W-20 oil. I prefer Mobil1, but Toyota Oil is great as well
– Toyota filter kit part# 04152-YZZA5
– Toyota oil drain plug gasket part # 90430-12031
– Extra large drain pan
– Funnel
– 64mm filter wrench
– 3/8″ drive ratchet, extension and 10mm, 12mm, & 14mm sockets
– Nitrile gloves
– Old Micro fiber towels, and papertowels to clean up
– Owner’s manual
– Big plastic spill catcher pan (optional)
Procedures of changing engine oil and oil filter for Toyota 4Runner:
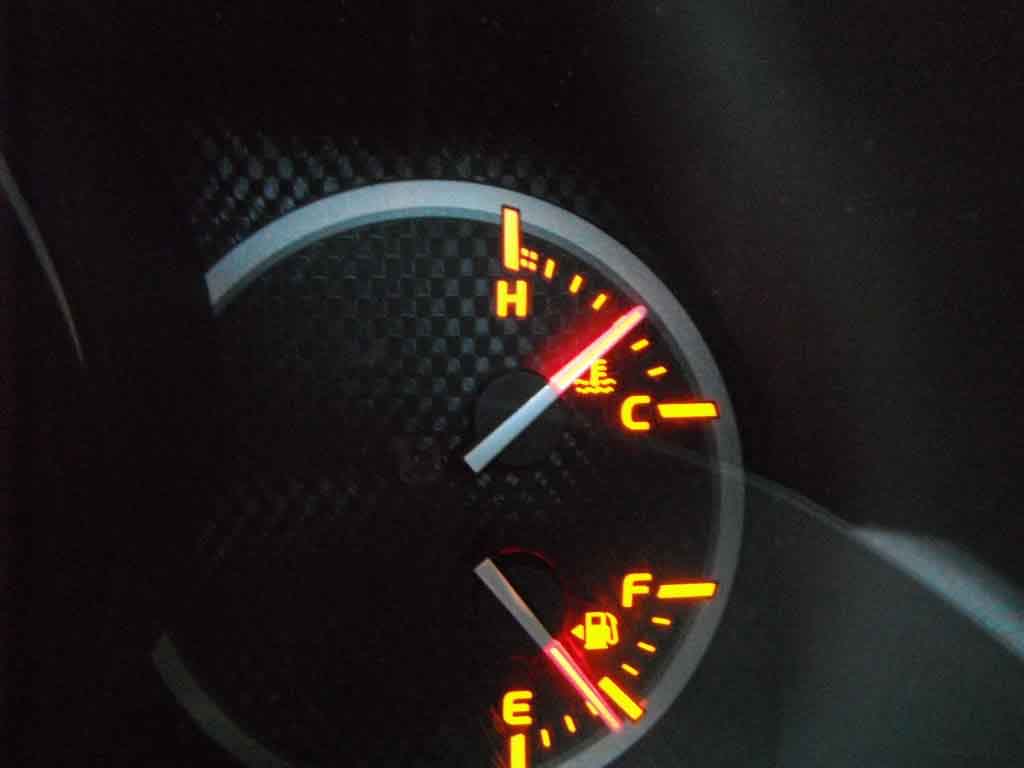
Get in your 4Runner, and drive it for a bit. You want your oil to be at operating temperature (read, hot) when you change it. Make sure your temp gauge looks like this;
When you get back, put on the parking brake and pop the hood.
Make sure you are wearing some old clothes…
Hook up your smartphone to the garage stereo (you DO have a stereo out there, right?) and crank up the RUSH station on Pandora. It’s my thread, so just do it…Or, just play this. One of the best Rush songs ever made.
Now you’re ready as ever.
Before I forget- Do yourself and US a favor and write yourself some reminders in the owner’s manual, and on the oil fill cap(silver sharpie)!
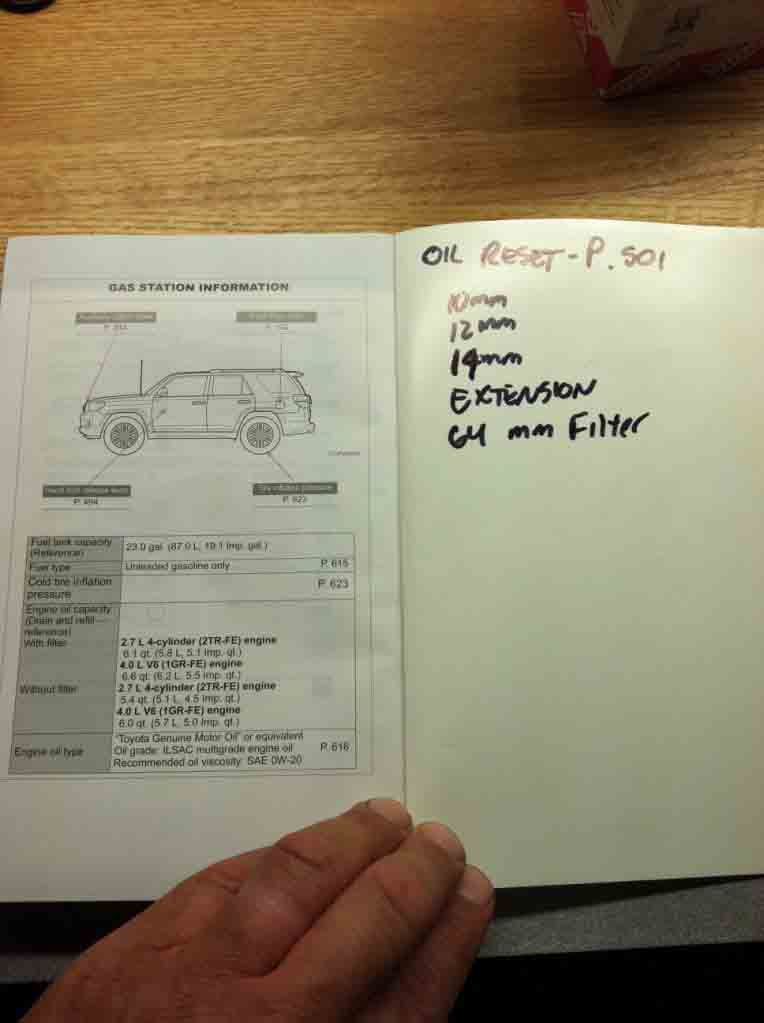
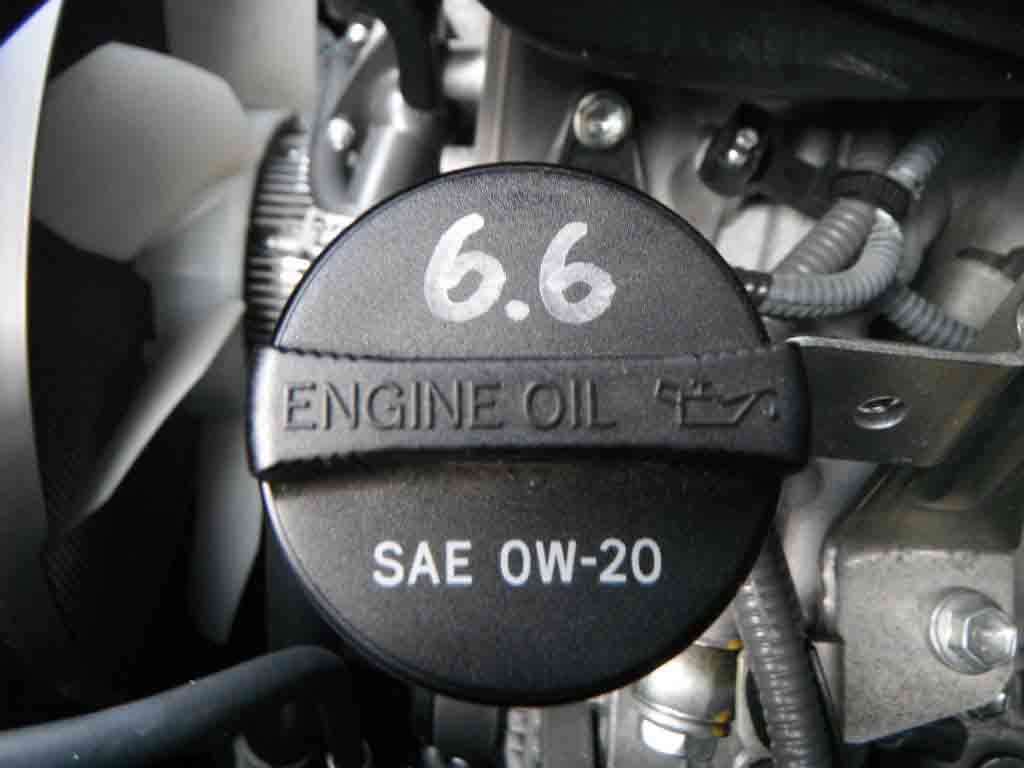
Remove the oil fill cap, and set it aside (the plastic engine cover is a good spot). This will help the oil drain out easier and faster.
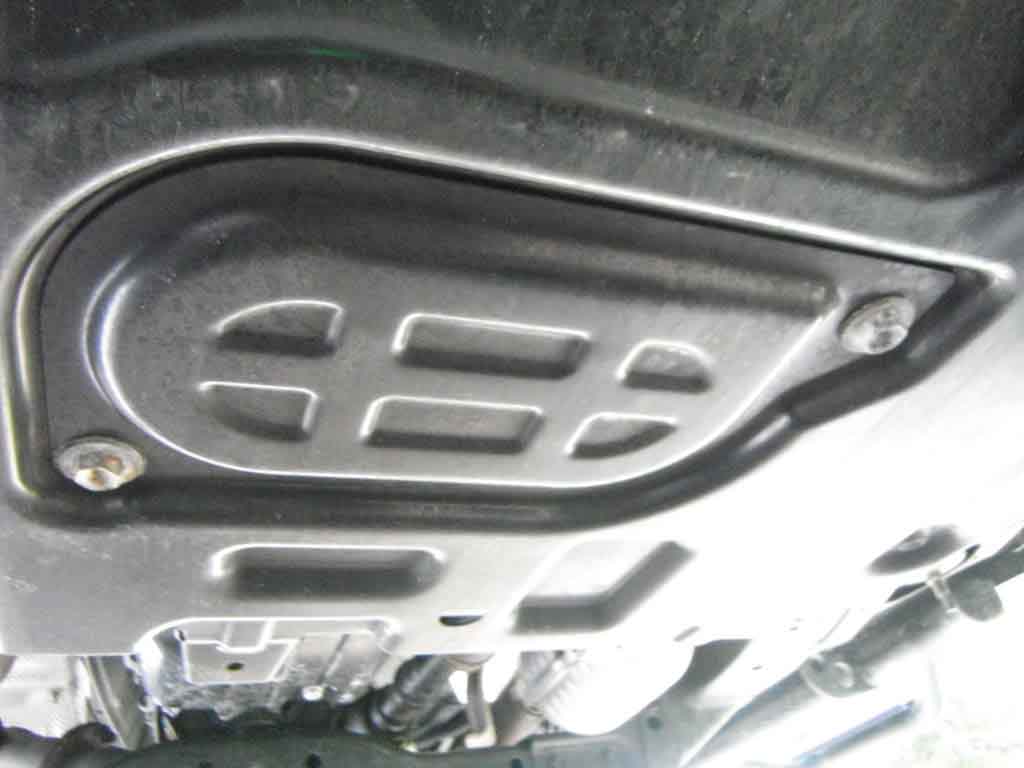
Get under there and locate the oil drain cover. The bolts are 12mm, and there are 2 of them. Remove the bolts.
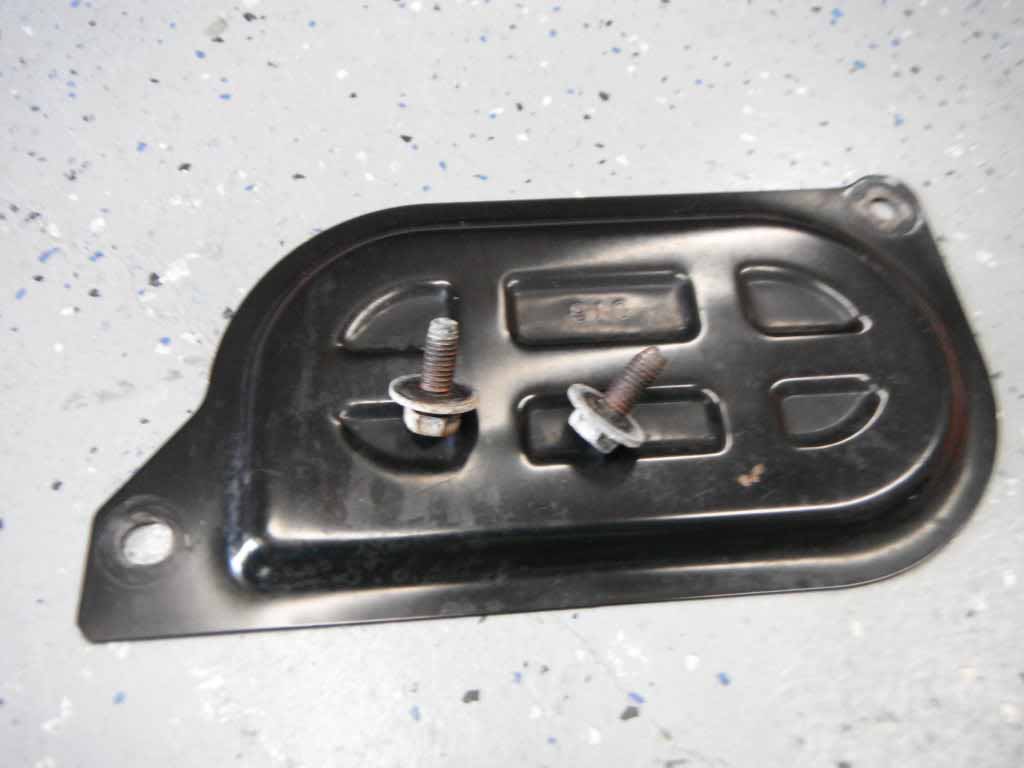
With the cover removed, you will see the 14mm oil drain plug.
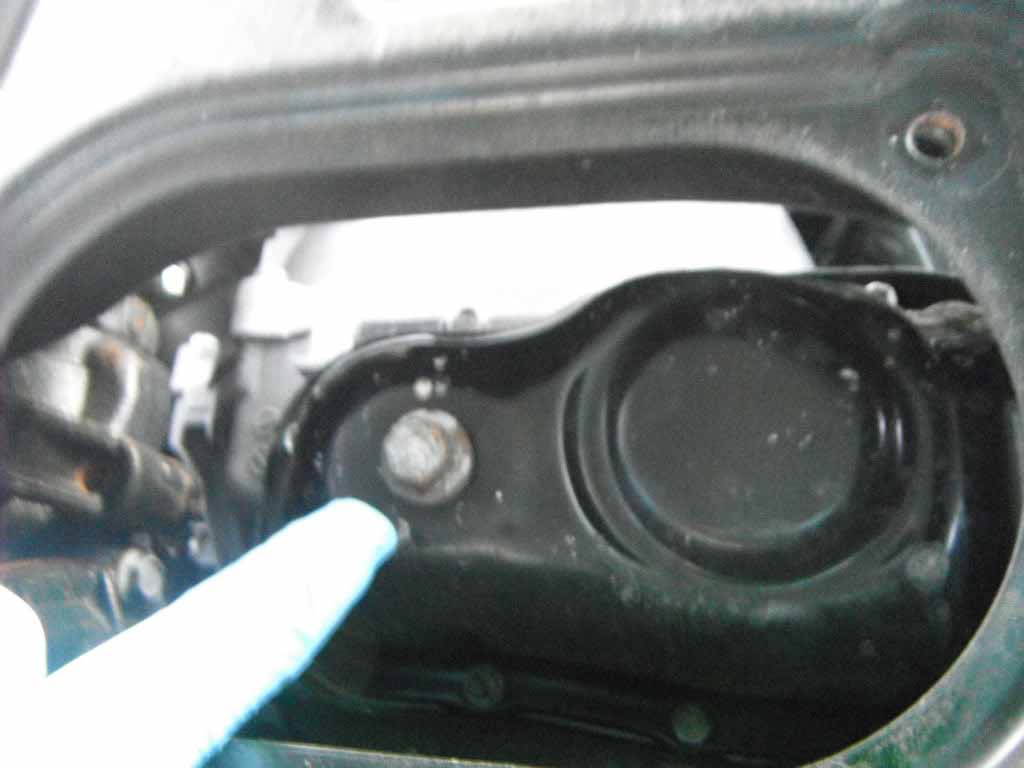
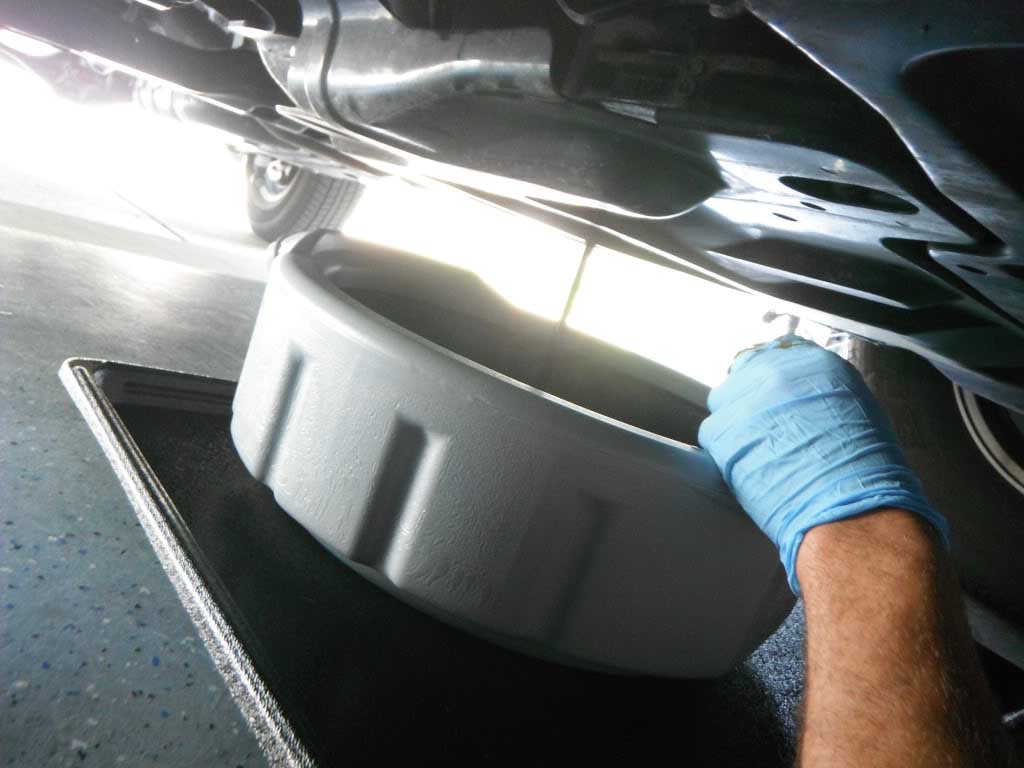
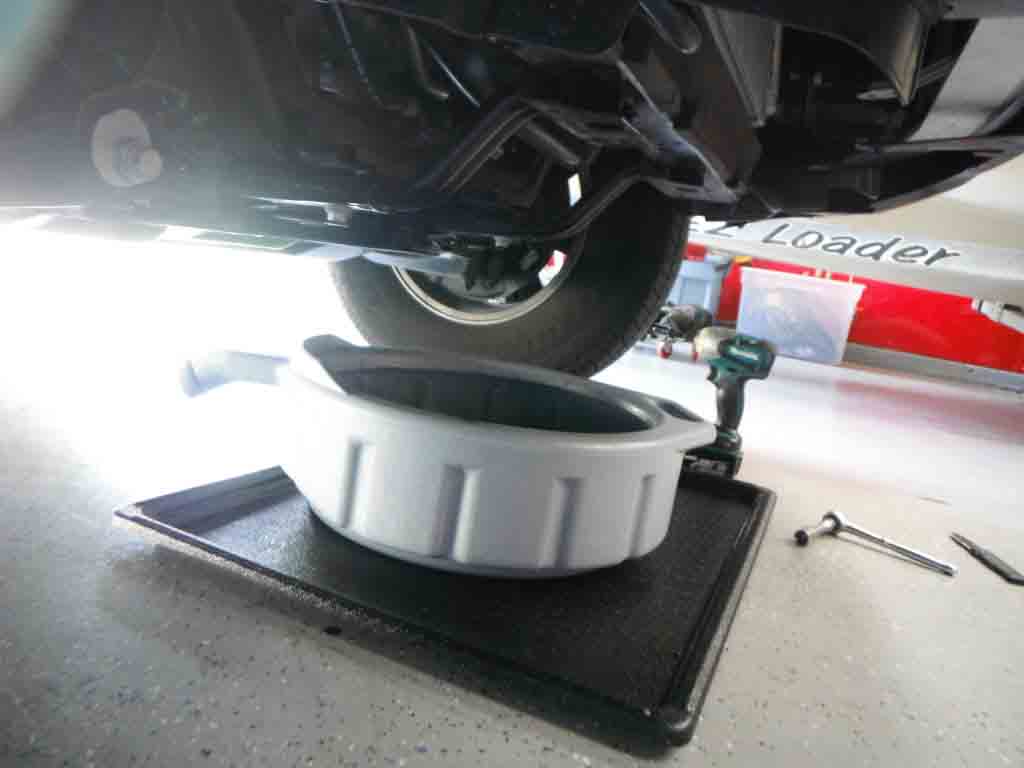
Put your drain pans in place, and carefully break the bolt loose.
For you newbies, it’s easy to get mixed up when you are upside down under your truck. Make sure the ratchet is in reverse BEFORE you go under there!
Once the bolt is loose, take it out by hand slowly. The HOT OIL will immediately gush out when the bolt is removed, so be prepared.
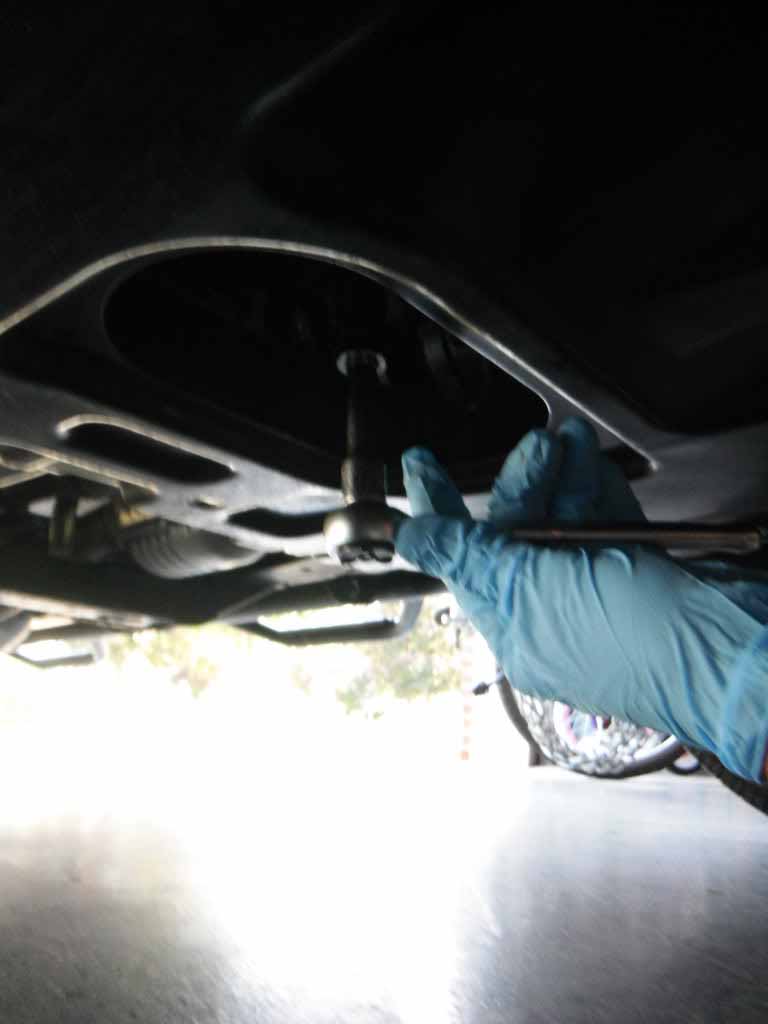
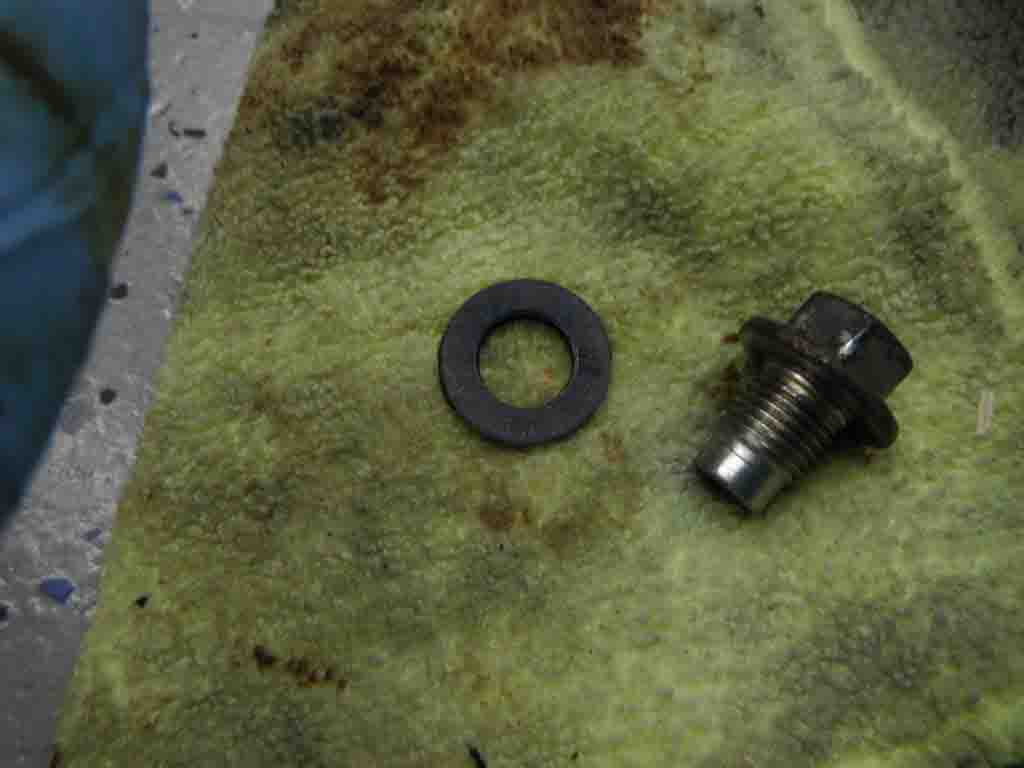
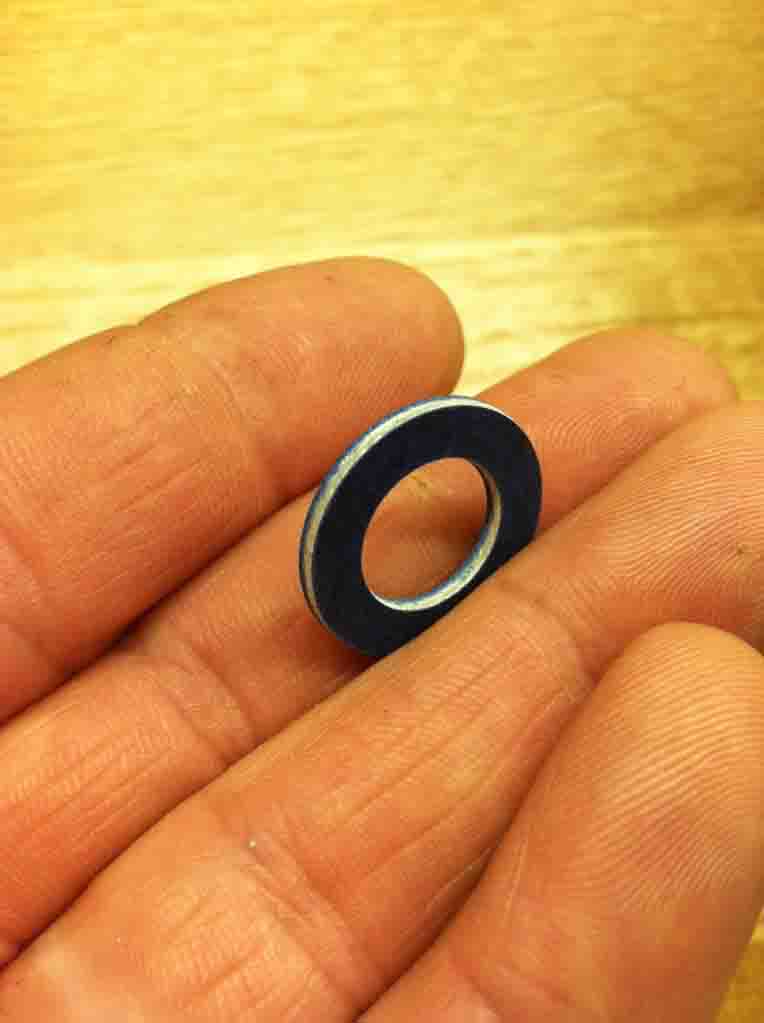
This is what the drain plug looks like,along with the washer that should be replaced every time.
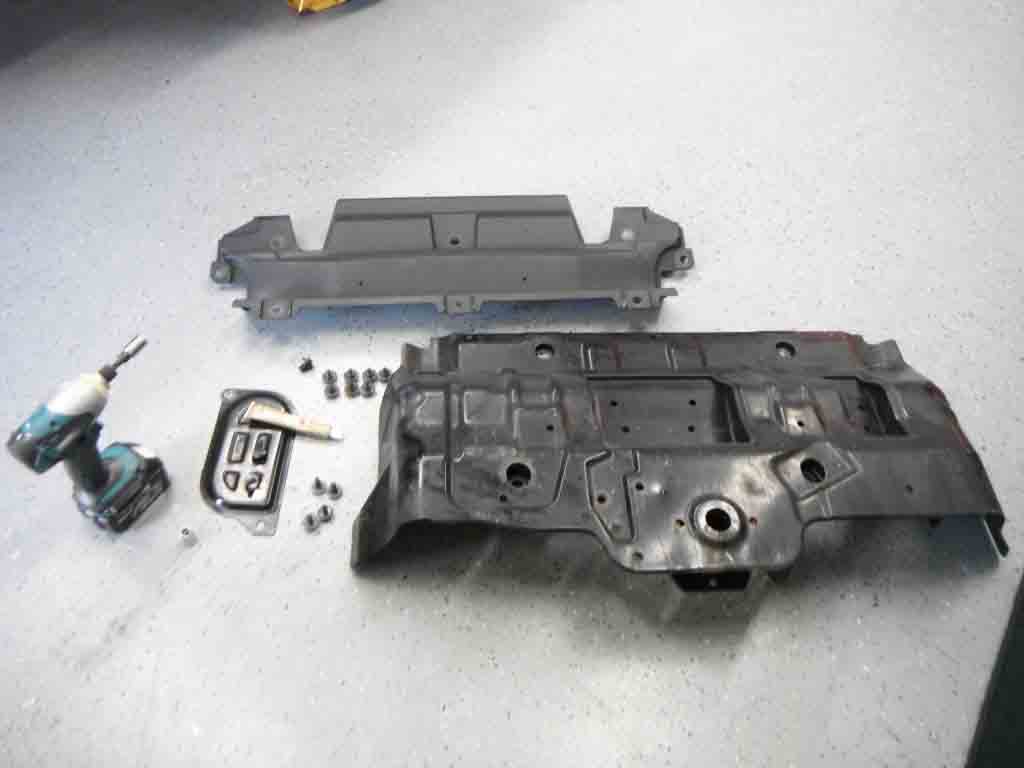
Now that your oil is happily draining away, you can remove the skid plate, and plastic front cover.
First the cover. There are a total of 7 10mm bolts, and a push-pin to remove. Here are the pics, along with how to remove the push-pin (pop the center gray piece out, and then pull out the black ring). It’s important to note that I have removed my front spoiler, so you won’t see that in the pictures!
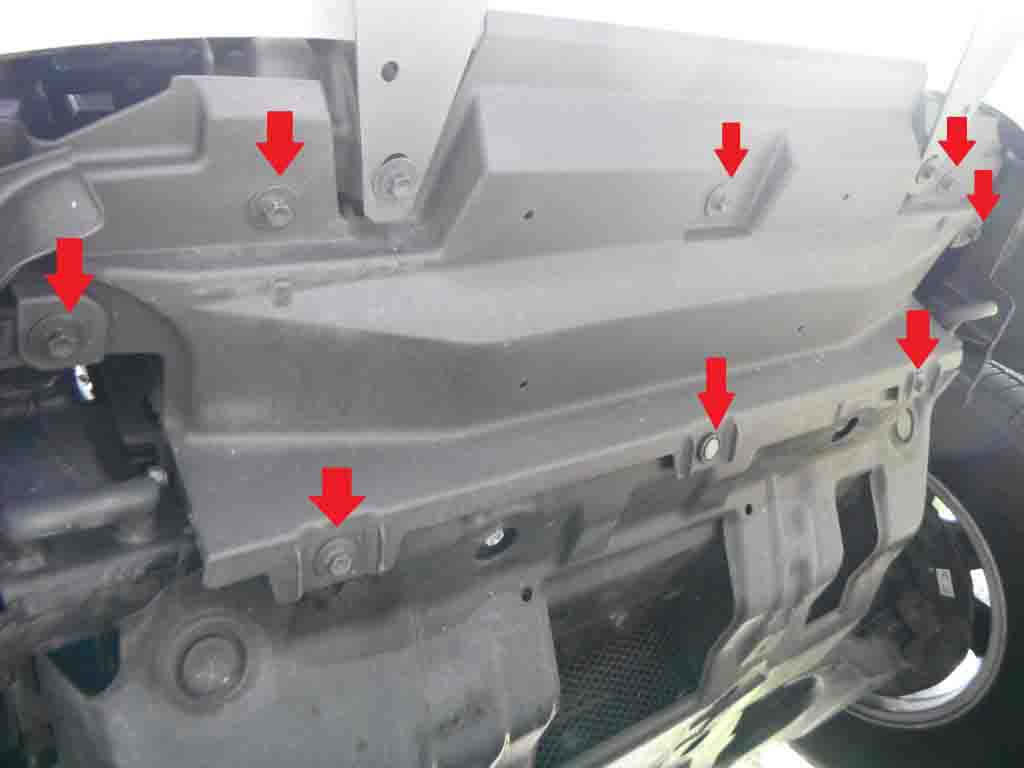
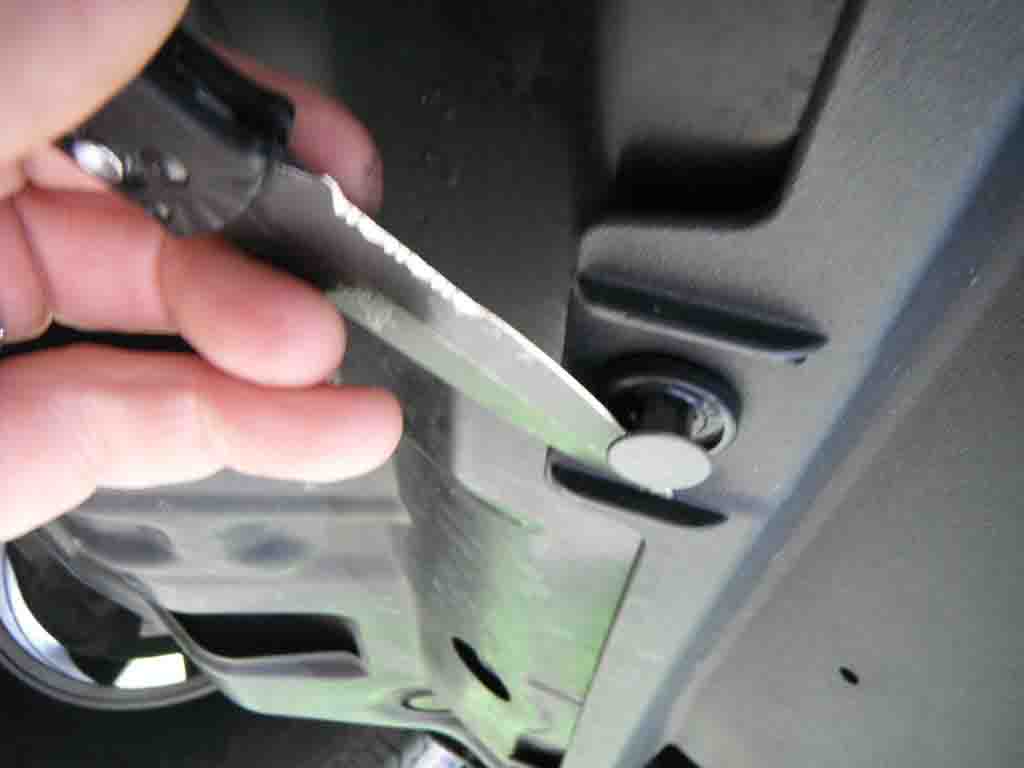
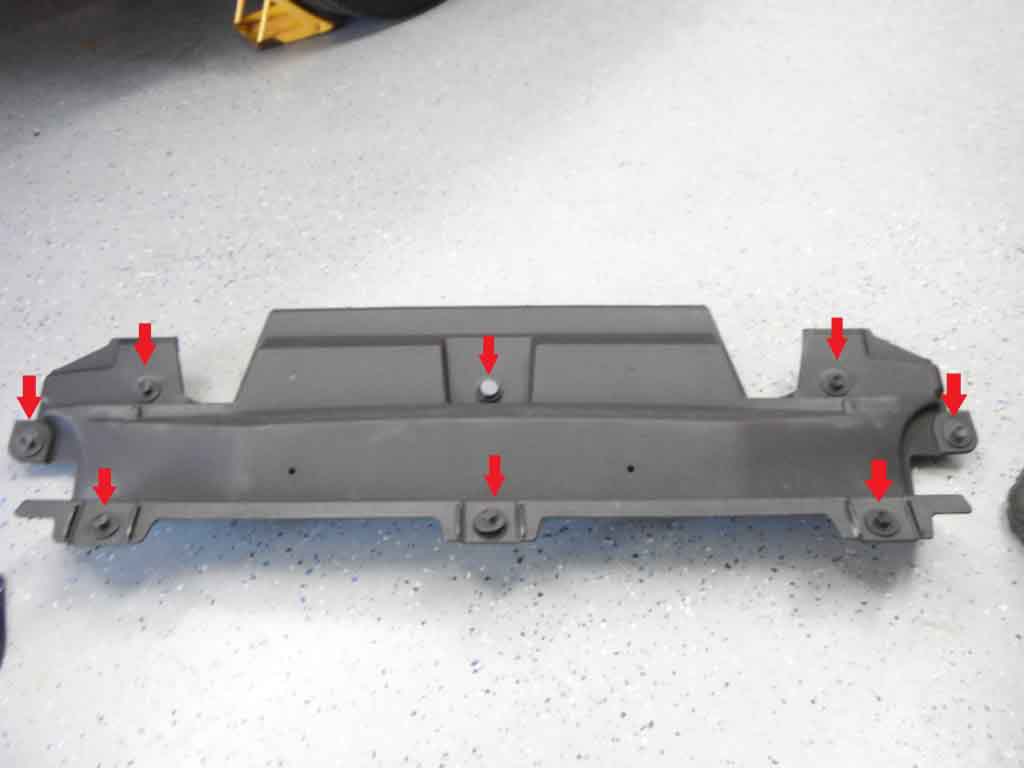
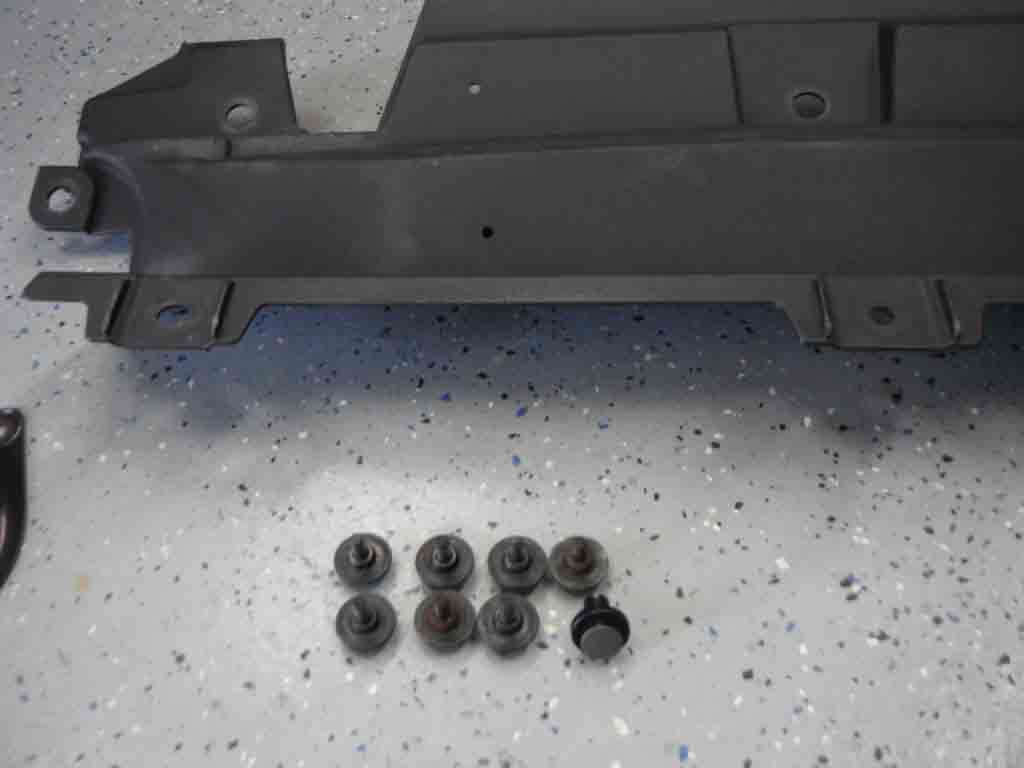
Removing the cover will reveal the 2 front skid bolts…
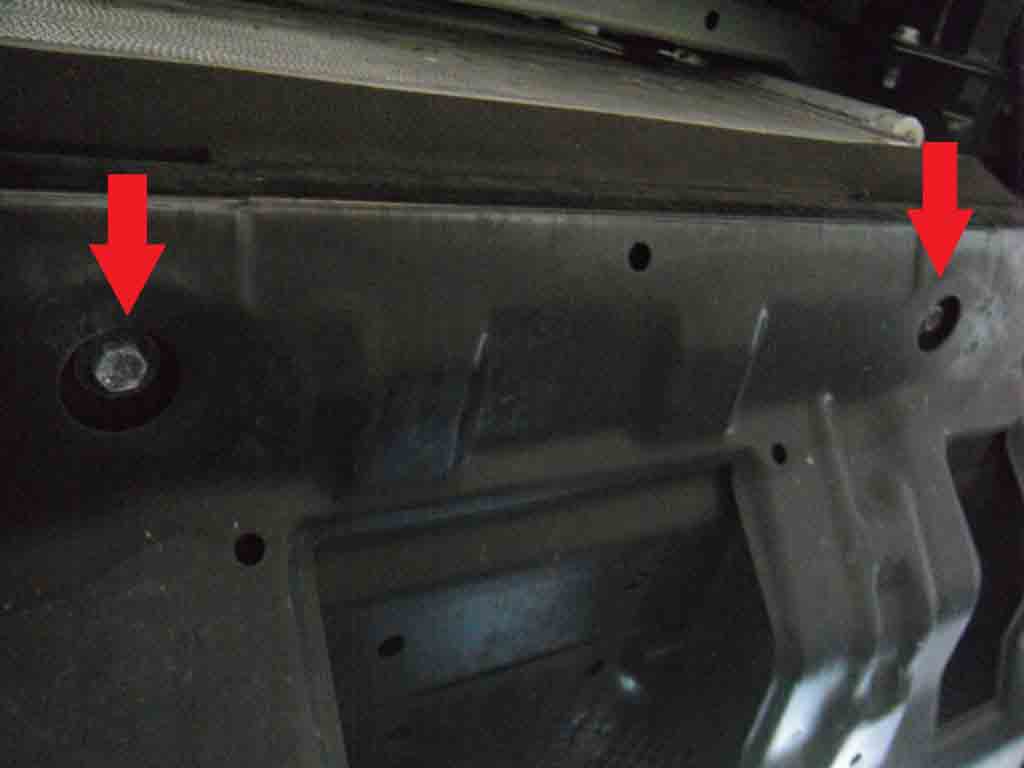
Look towards the back to reveal the other 2 skid bolts…
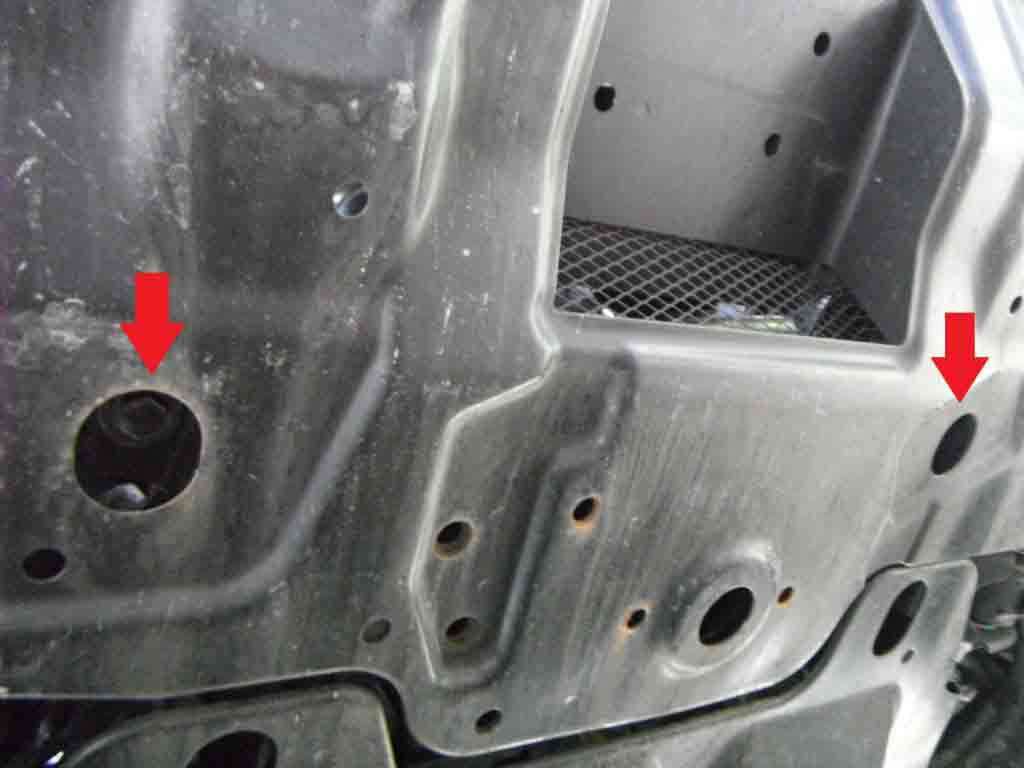
The skid bolts are 12mm. The skid plate is hinged from the front. Remove the front bolts first, then the back. When removing the last back bolt, hold up on the skid so it doesn’t bang you on the head! The front “hinges” are a royal PITA to unhook the first time around, unless the truck is on a lift. Just keep wiggling it until it comes loose.
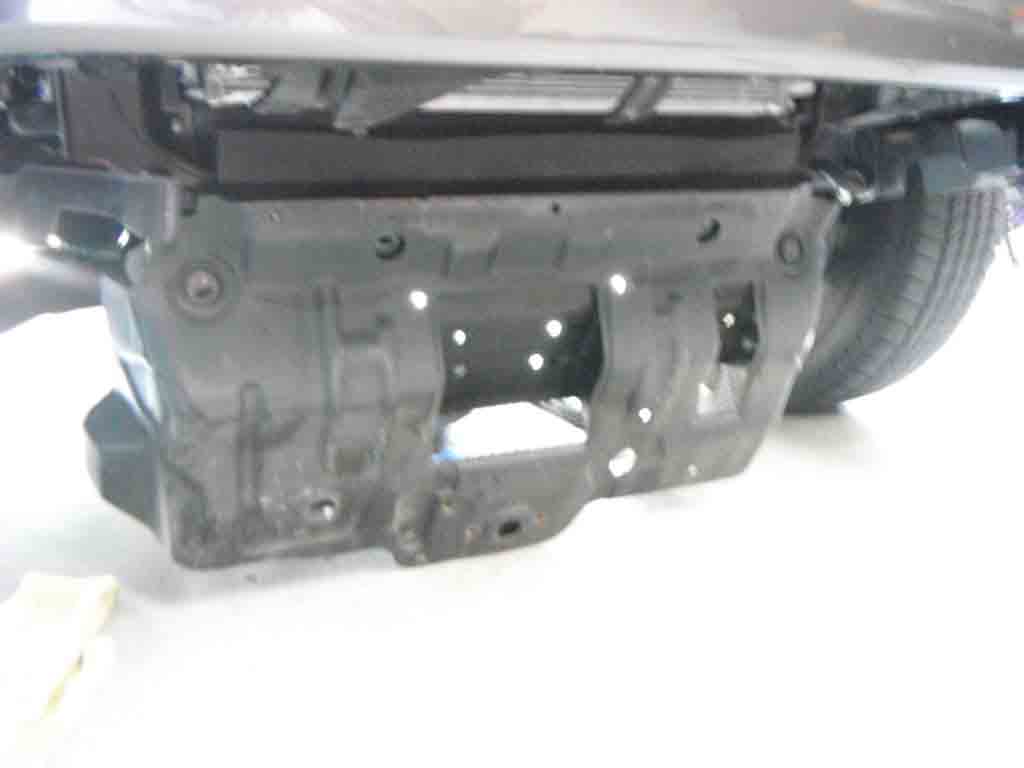
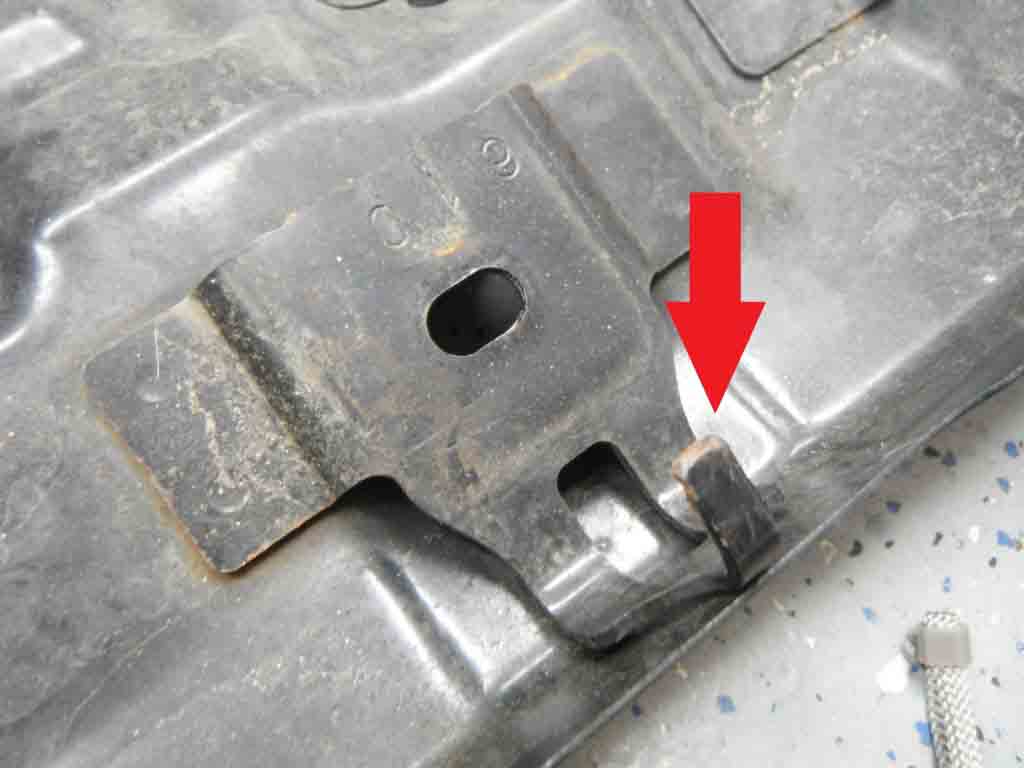
IF you plan on doing this again, do yourself a HUGE favor and grind the end of the clips off to look like this. You will love me for this suggestion, trust me.
One more pic of the bolt locations!
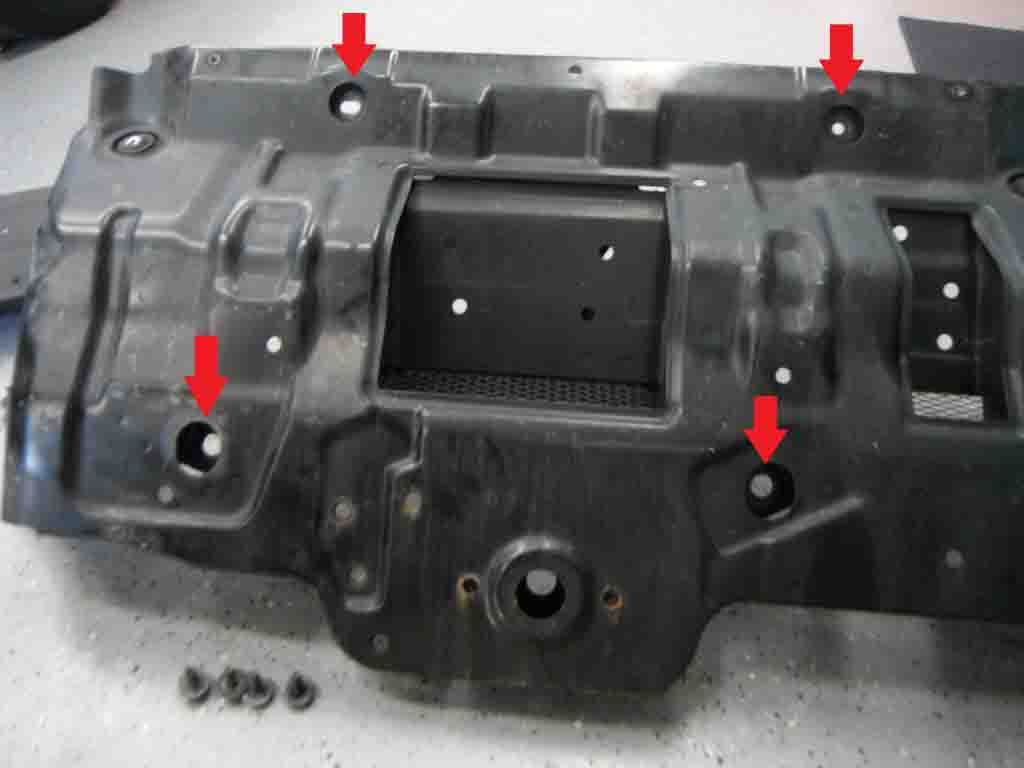
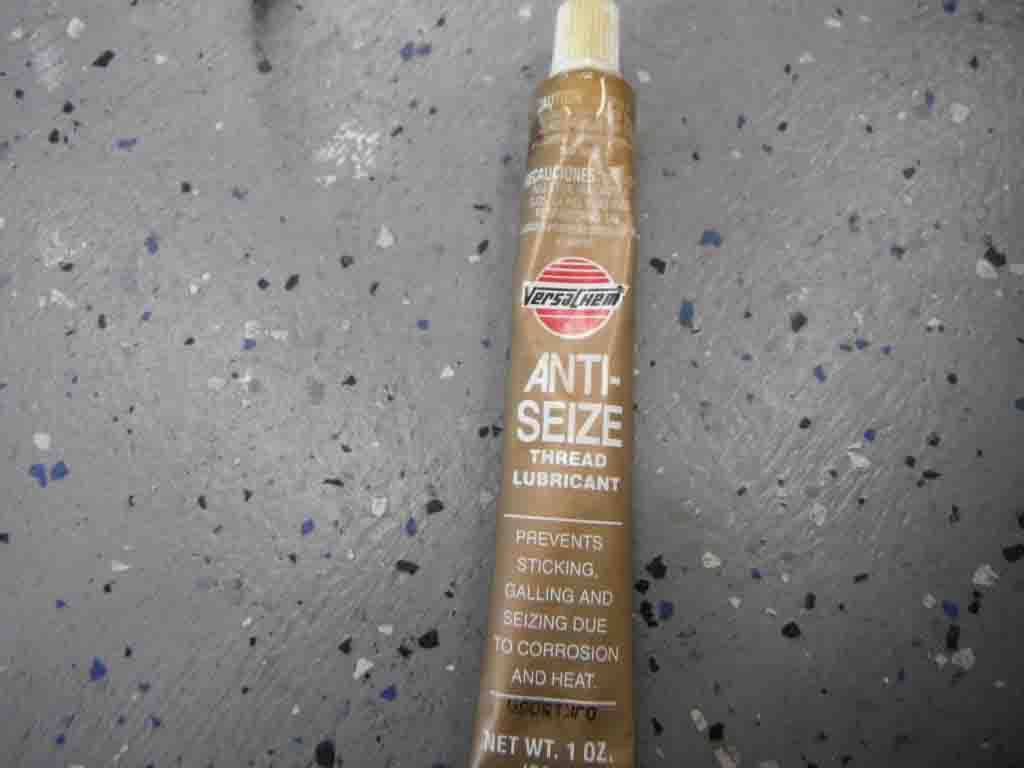
Do yourself another favor- ESPECIALLY YOU OFFROADER’S. Coat the threads of all the bolts you removed (except the drain plug!) with some anti-sieze. No rusted bolts- ever.
Everything is off- ready for the filter removal..
By now your oil has pretty much drained out, right? Put your new washer back onto the drain plug and tighten it up (spec is 30 ft-lb). Make sure it’s snug. Before you put that cover back on, get in there with a flashlight and a rag and wipe away any oil that splashed onto stuff. How can you spot a leak if you already have a mess?
When it looks nice and pretty, put the cover back on. Tip- when putting this cover, the skid, and the plastic cover back on- start all the bolts into every hole by hand and then tighten them up (21 ft-lb for the cover and skid). That way you will be sure all the holes line-up, and you won’t cross-thread anything.
Back to the filter- Move your drain pan into position under the filter housing. THIS is the filter housing…
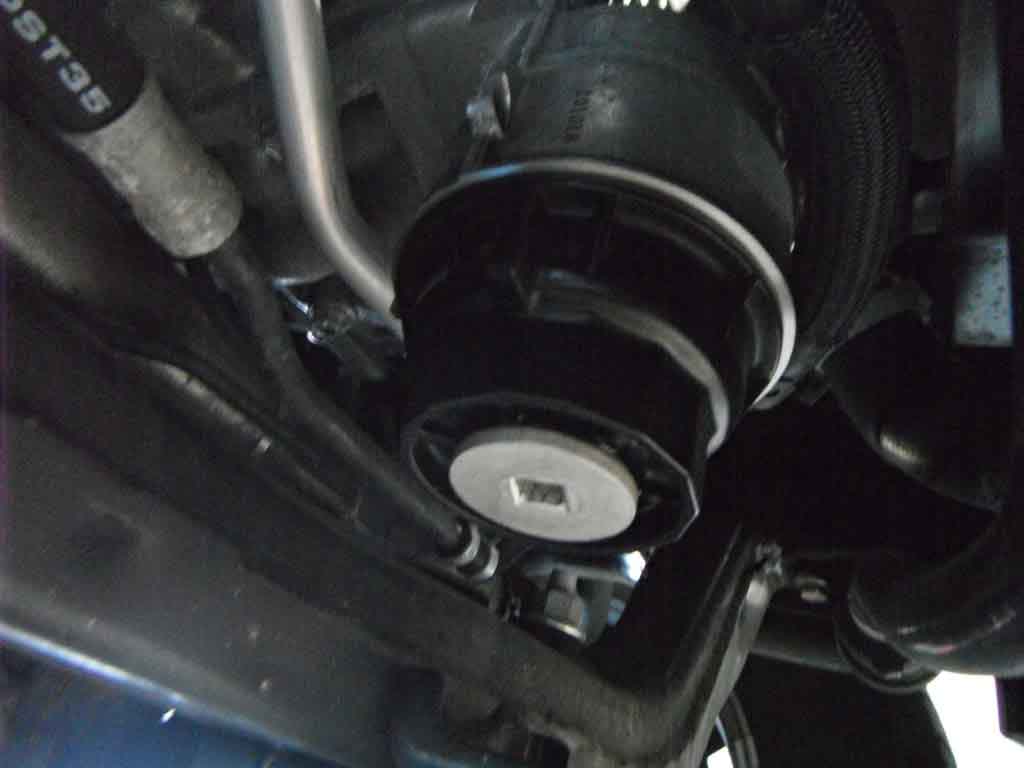
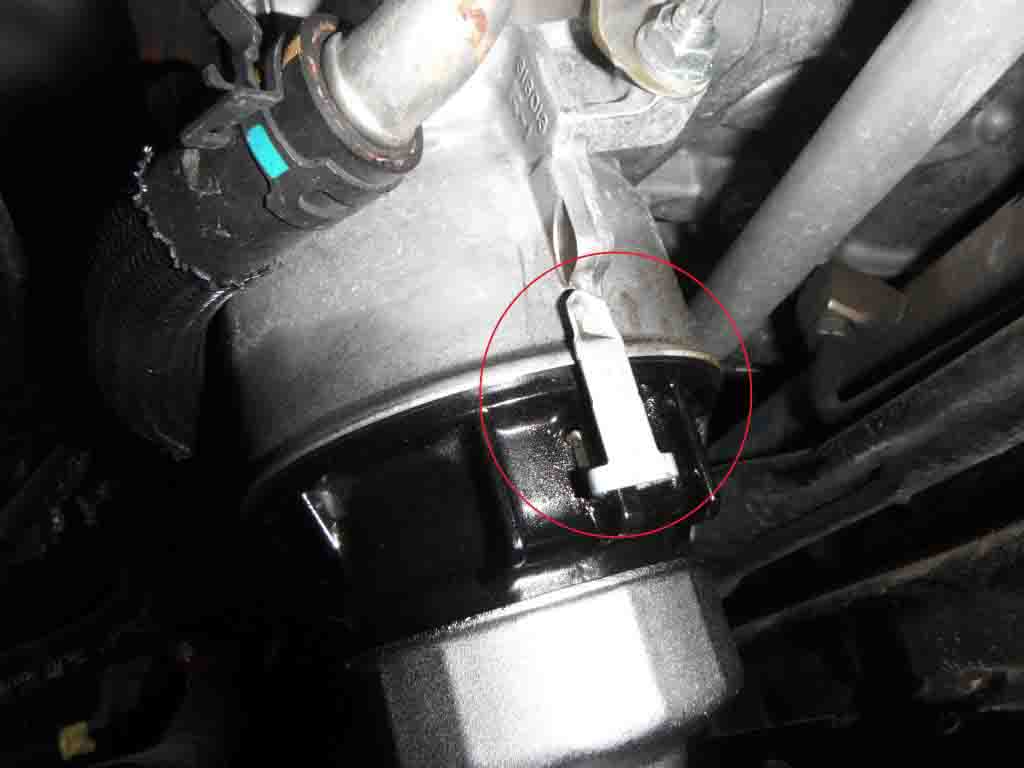
Pay attention to the location of this metal indicator tab! It should be in the same location after we re-install the housing.
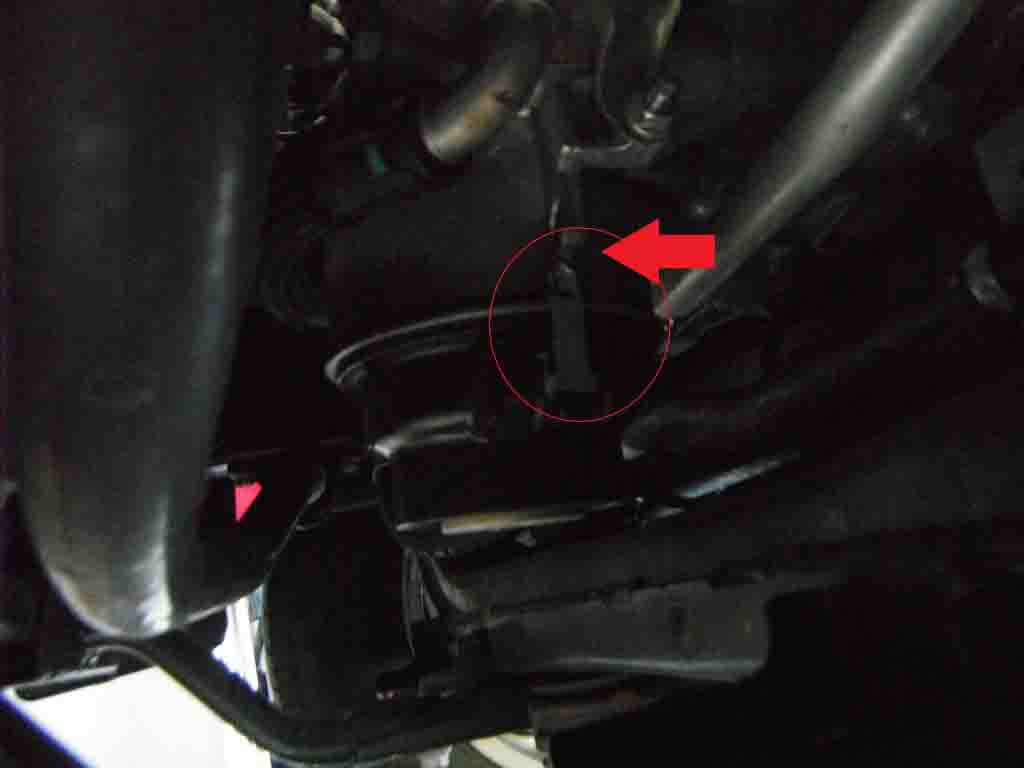
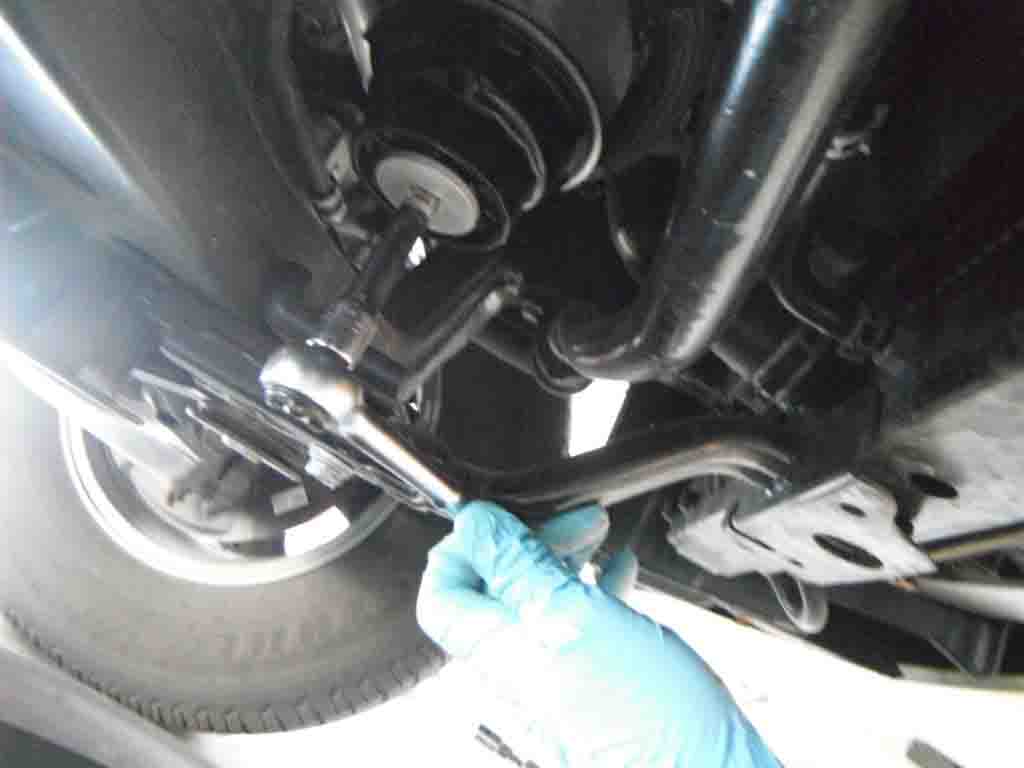
Using your ratchet and 3/8″ extension, remove the metal filter plug. A small amount of oil will drip out.
Open up your filter box and look at what’s inside. There are important instructions on the box, and inside the lid for you to reference.
The kit comes with 2 new O-rings, a drain tool, and the filter itself.
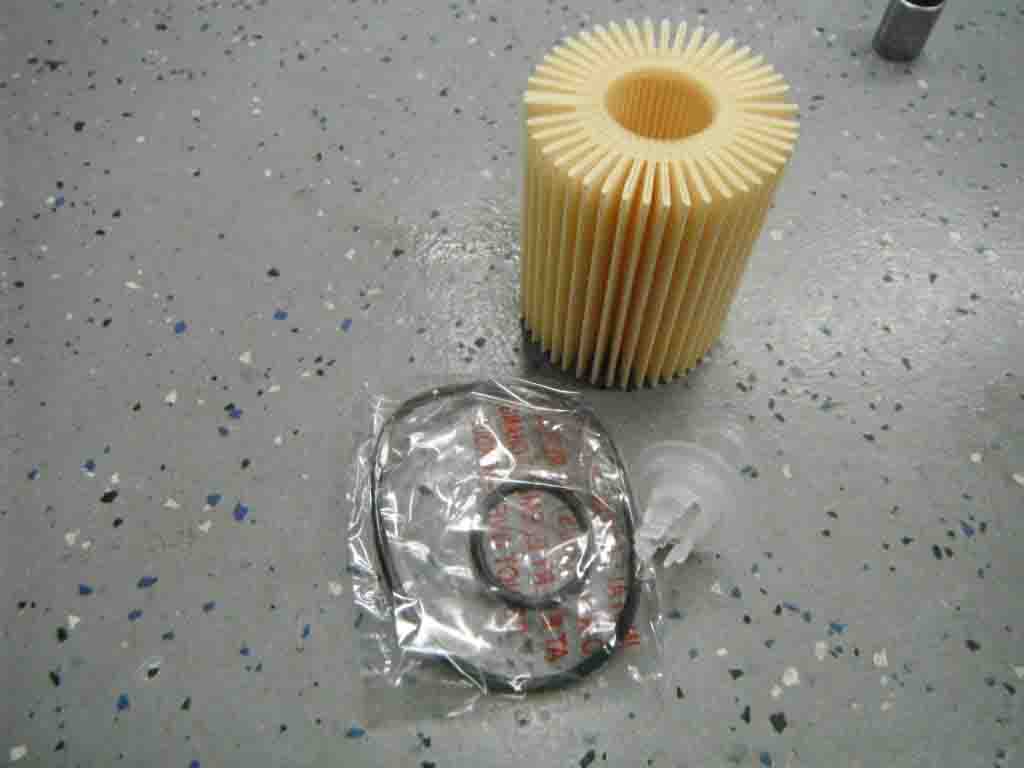
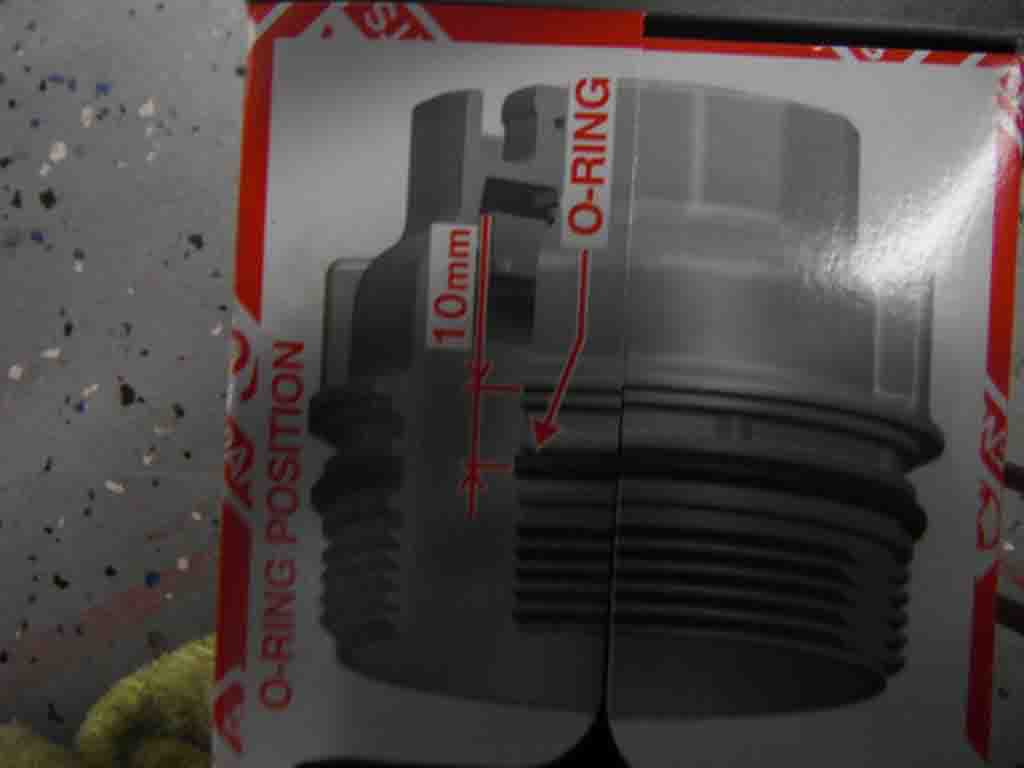
Locate the plastic drain tool and plug it into the base of the filter. Once again, HOT OIL will immediately drain out, so be ready!
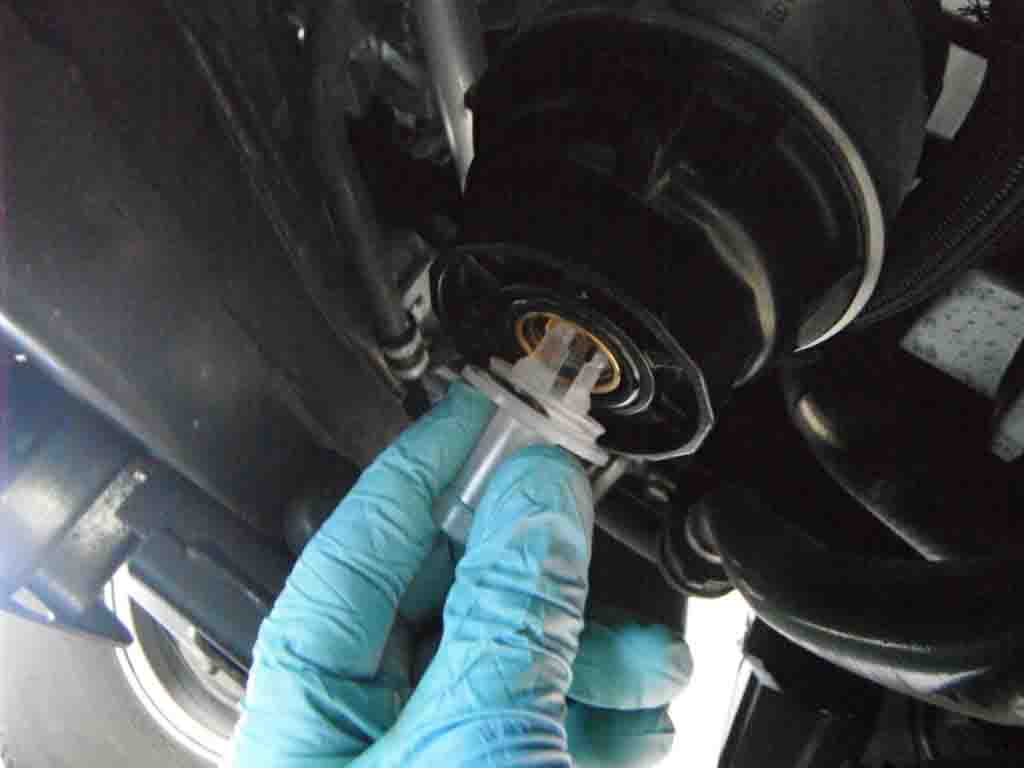
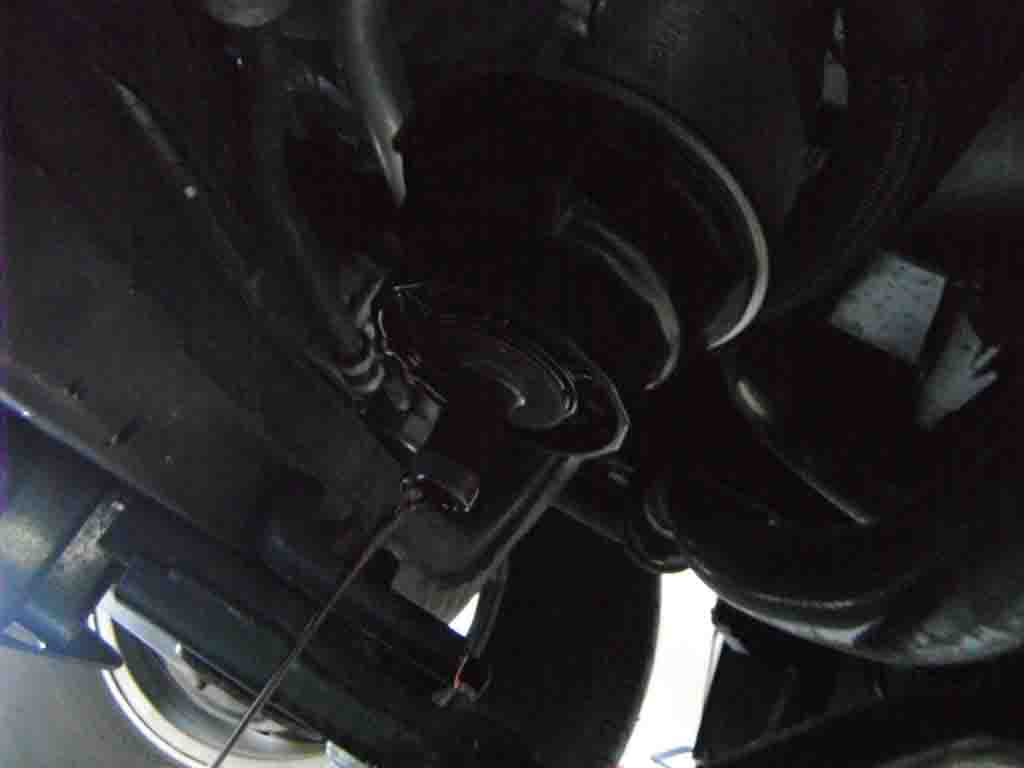
Once the oil has stopped dripping, push the plug to the side to pull it off. This part is neat- toyota designed the plug to pull the old O-ring off with it! Kinda cool the way they did that. Both of these parts are trash. It’s Ok, throw them away.

Thanks to the joy of the cartridge filter, we are still not done here…
Using your ratchet and 64mm filter wrench (make sure your ratchet is in “reverse!”), remove the filter housing. It will be tight, and stay tight until it’s almost all the way off.
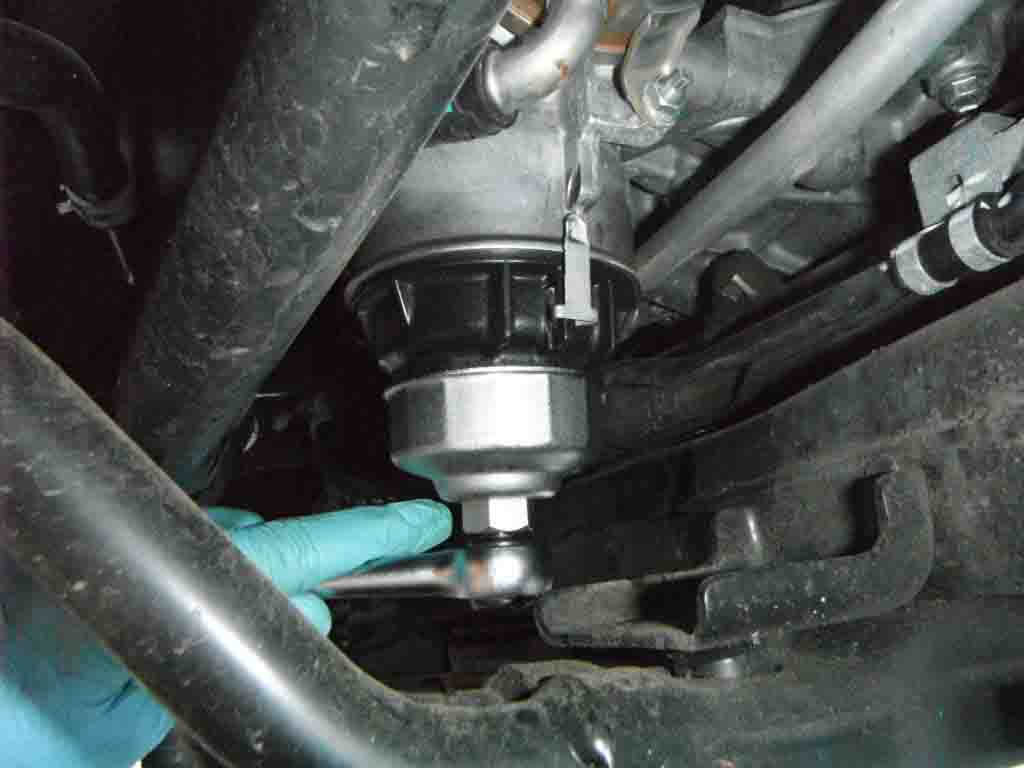
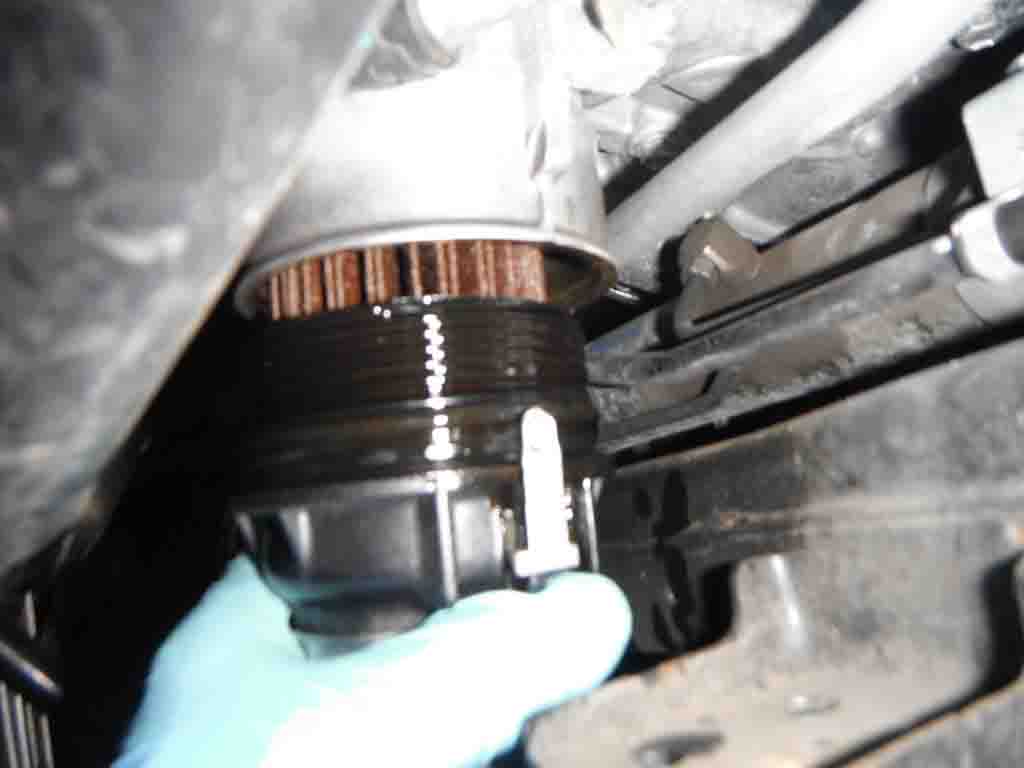
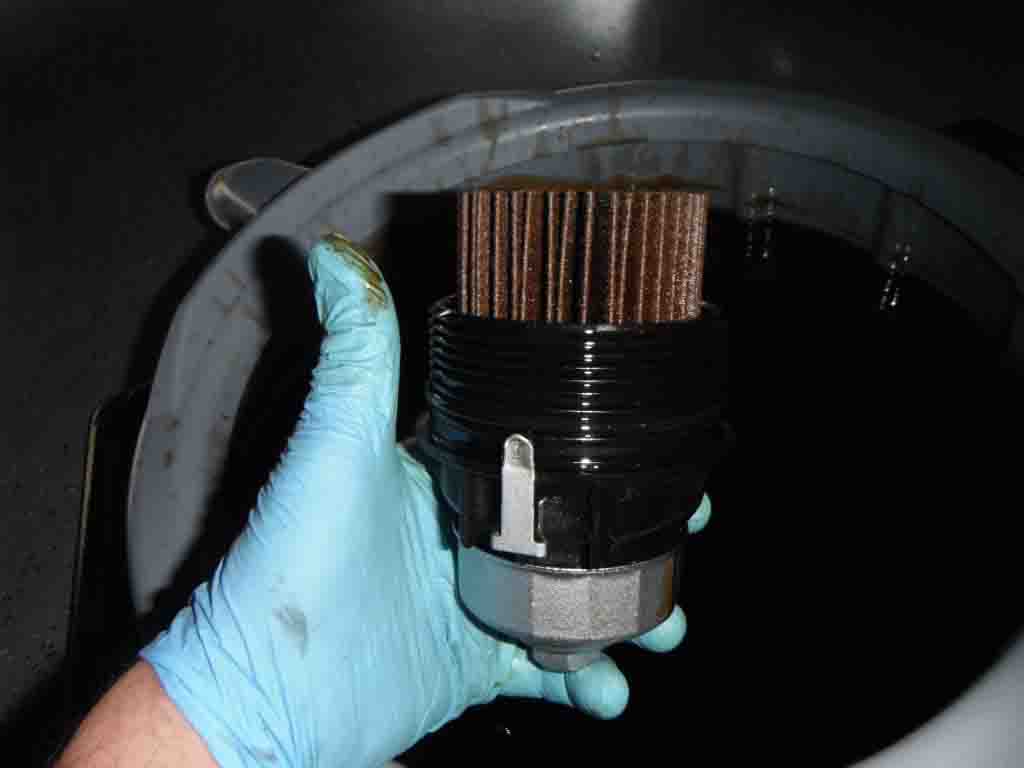
Remove the old filter, and toss it. You also need to remove the old O-ring on the housing and throw it away. I used the knife to more easily show the O-ring. Do not damage the plastic housing(!)- you can remove the O-ring by hand easily.
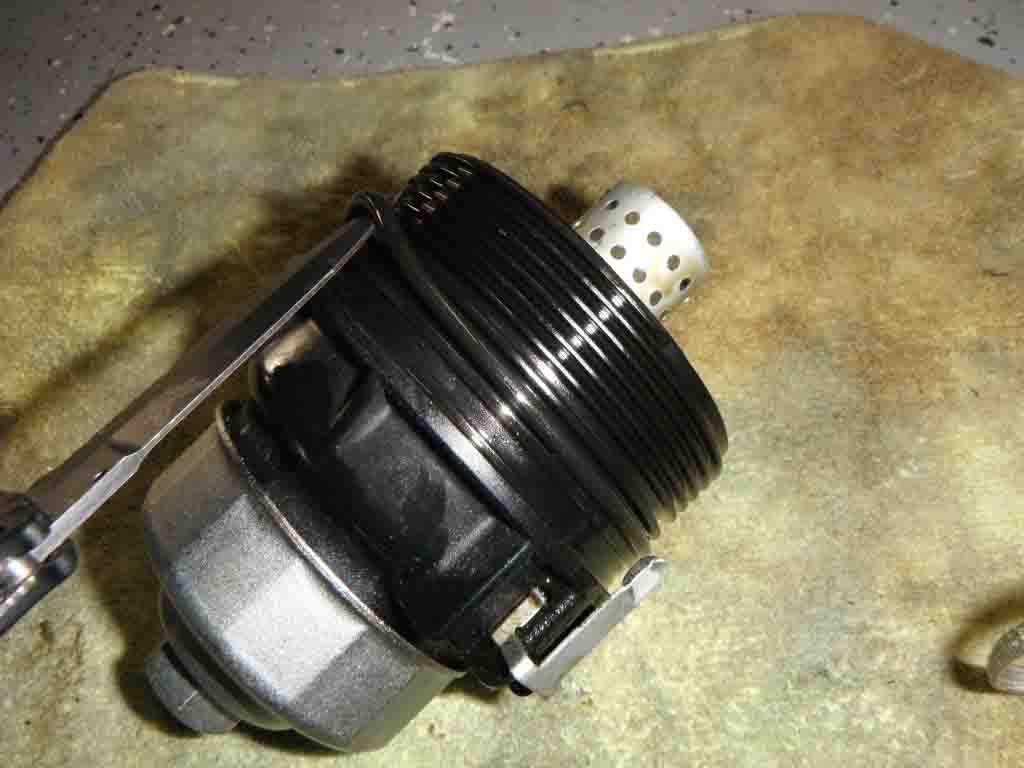
Clean inside your plastic filter housing, and the grooves where both O-rings were located. Clean inside the metal housing located on the engine as well. Be careful! Use something that is lint-free and make sure you don’t leave anything in there that doesn’t belong.
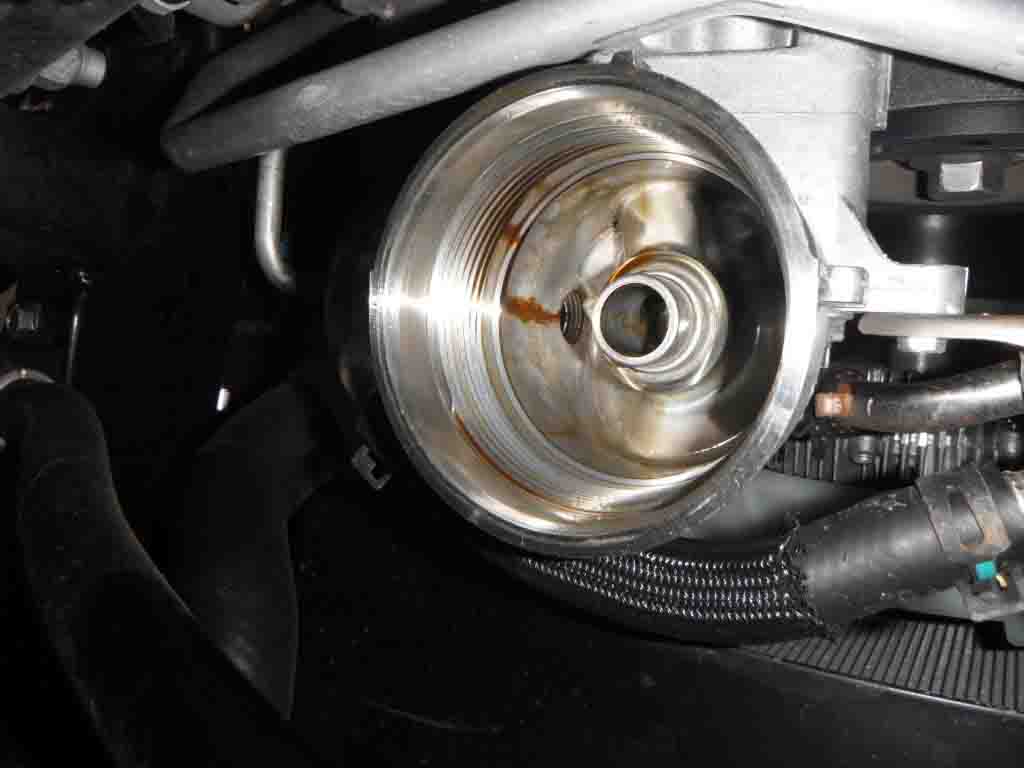
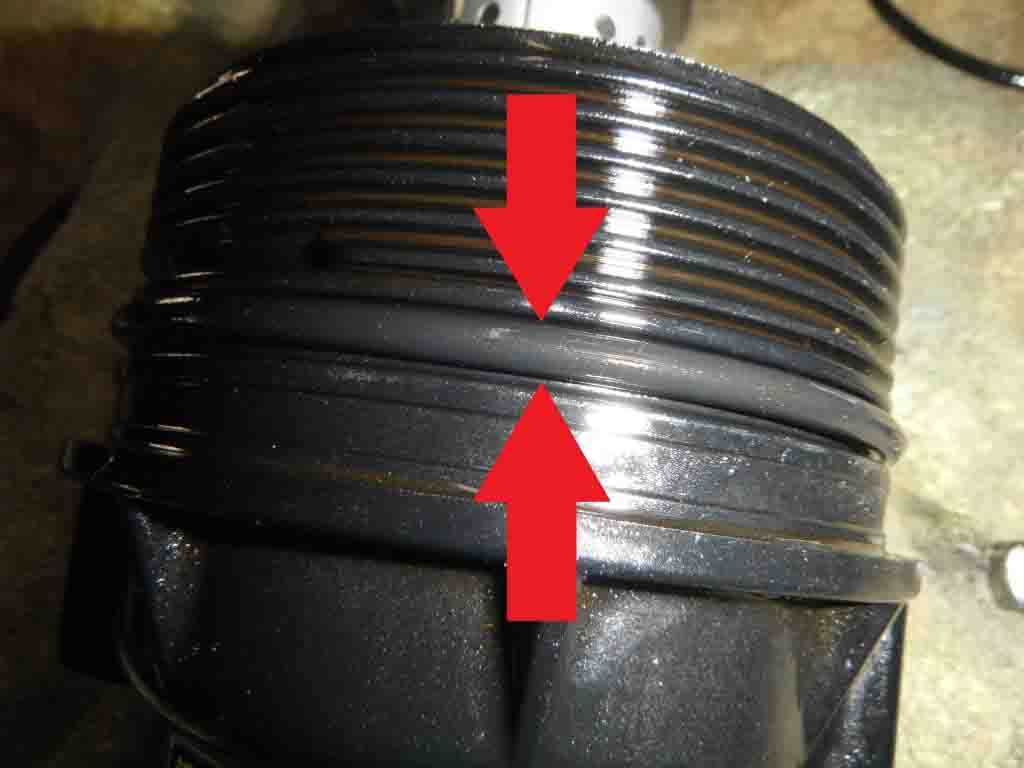
Locate the NEW big O-ring from the filter kit, and coat it with some fresh oil. Install it onto the plastic housing HERE.
MAKE SURE IT IS SEATED HERE!
Locate your new filter and install it into the housing. There is no top or bottom to the filter.
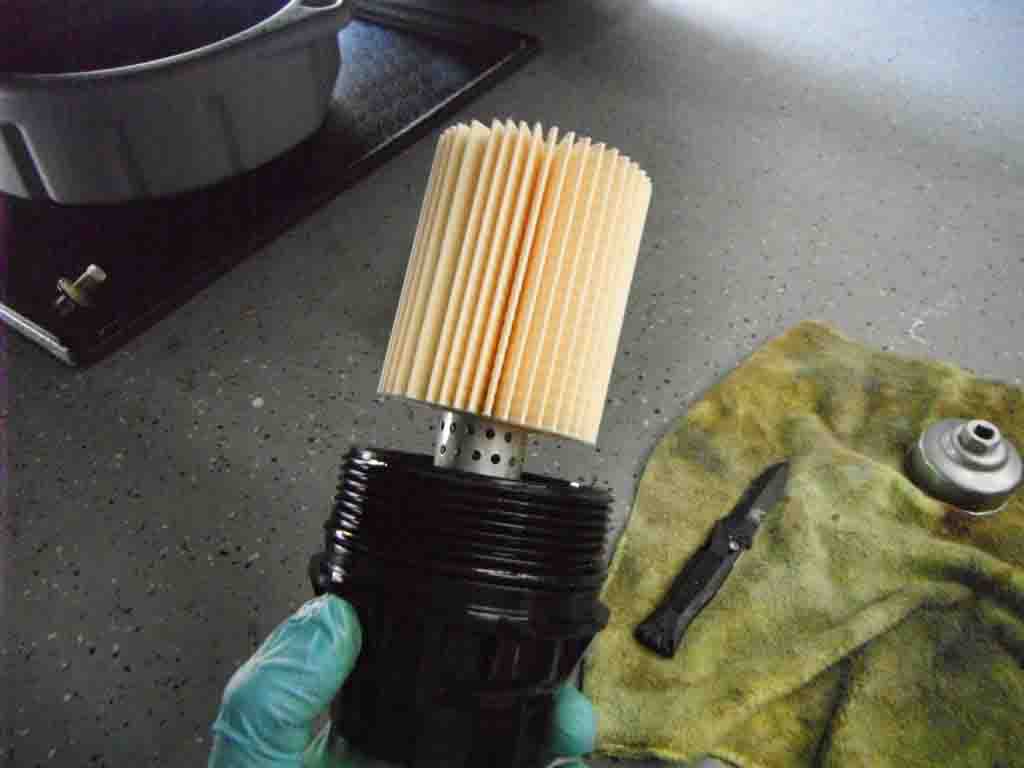
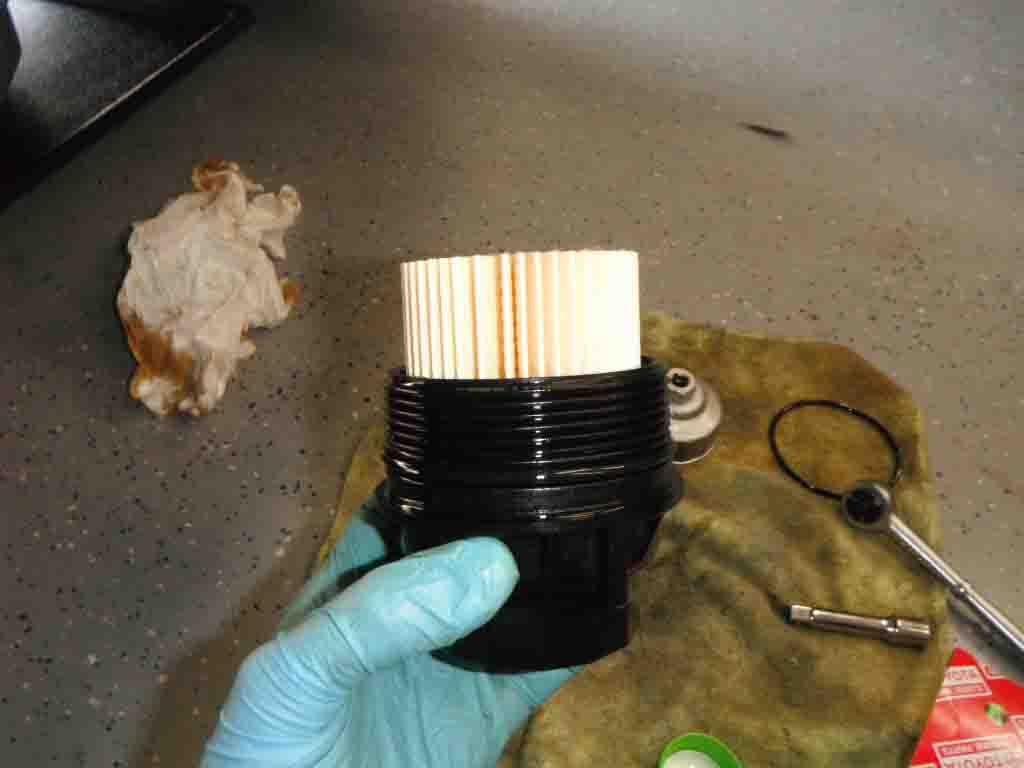
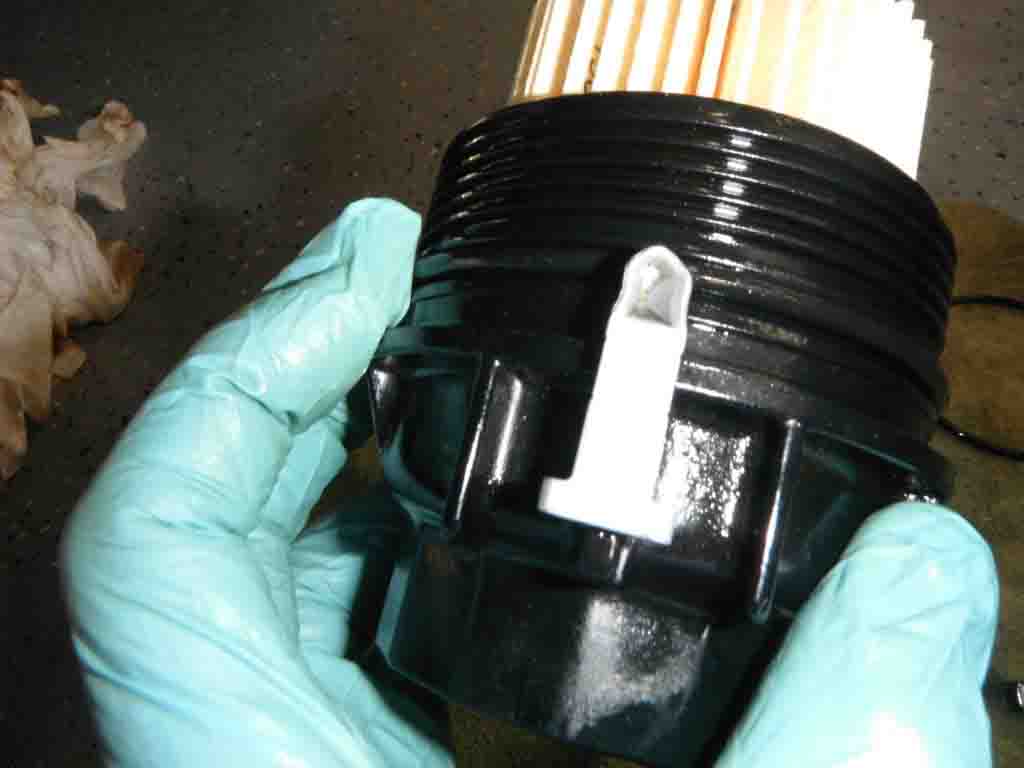
Reinstall the assembly.
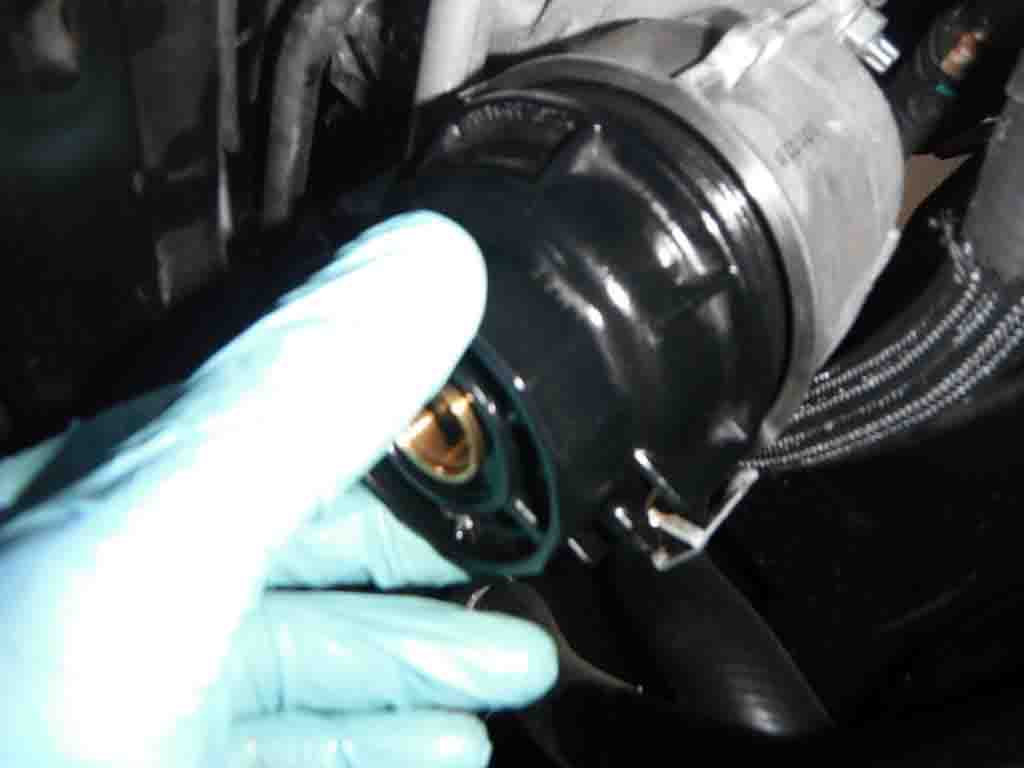
Once the housing is seated against the metal portion, keep tightening until the metal indicator tab is back in it’s original location (spec is 18 ft-lb). Like this:
Locate the NEW small O-ring from your filter kit and apply some fresh oil. Make sure the grove it seats into is clean, and press it into place. Install the metal drain plug and re-tighten until snug (Spec is 10 ft-lb) Do NOT tighten too much, so as to turn the plastic housing!)
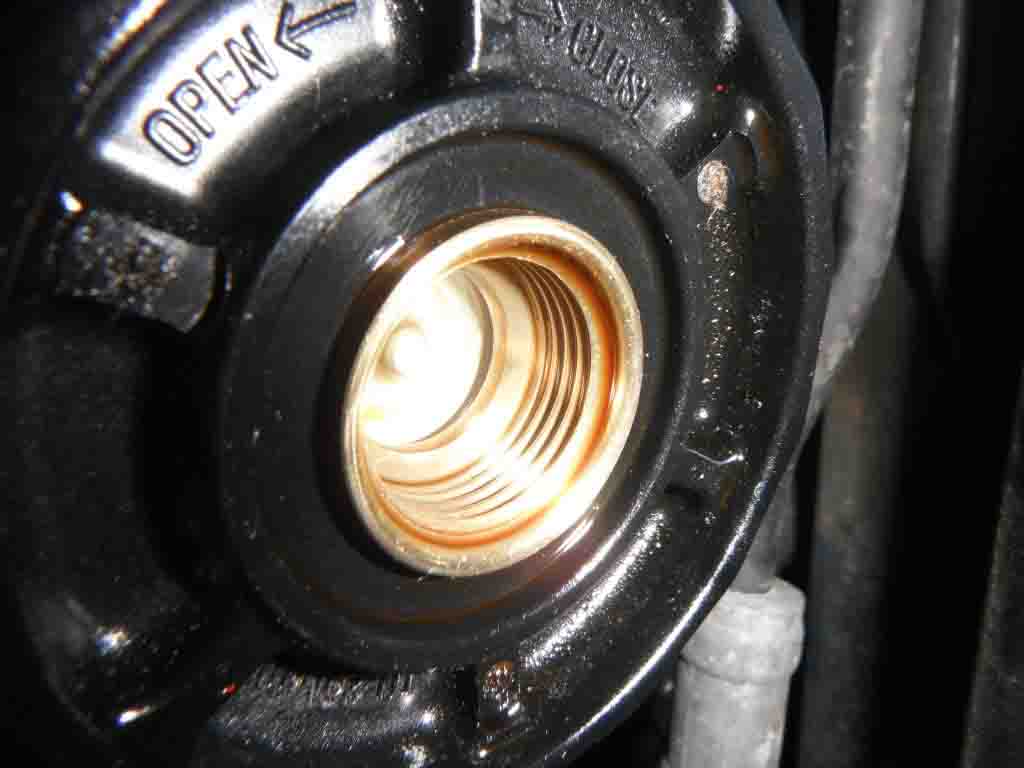
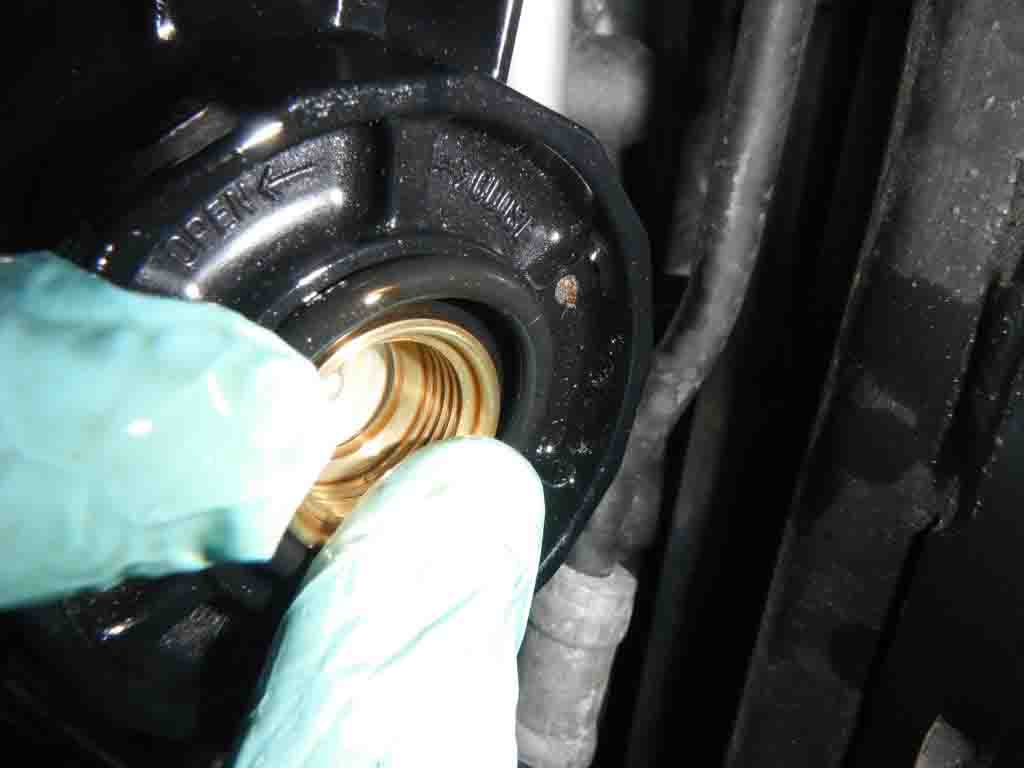
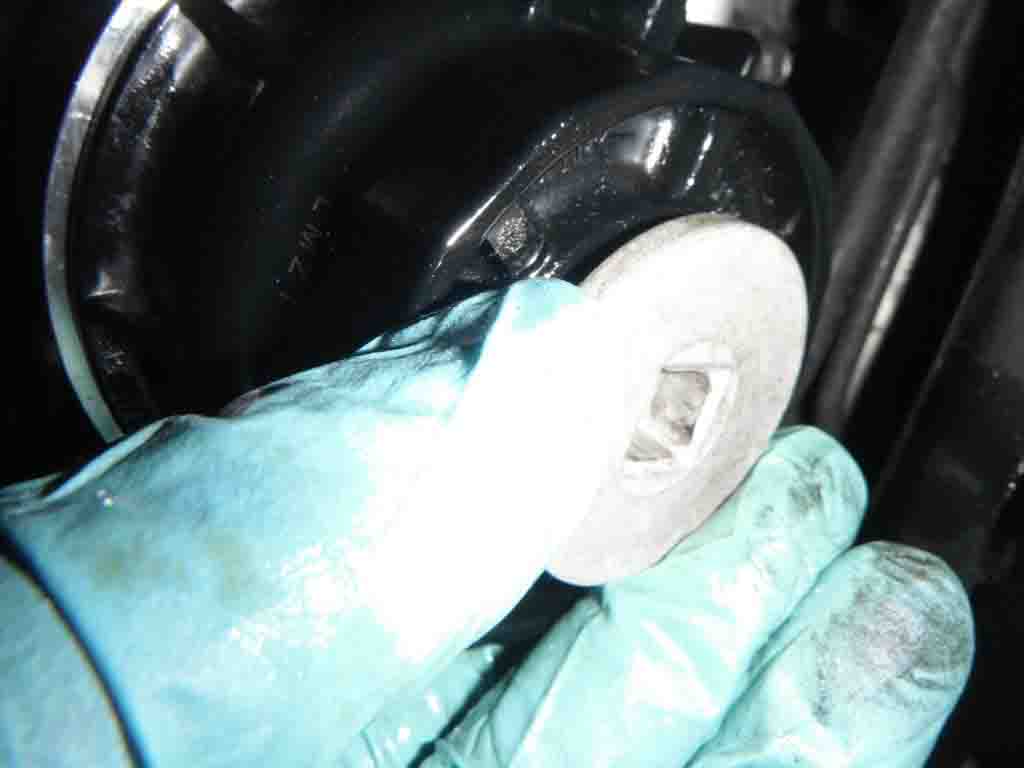
NOW, you are finally done with the filter. Clean up any spilled oil from the surrounding parts, and the filter housing. Double check your work!
Wait- don’t put those skids back on just yet- we want to check for leaks first…
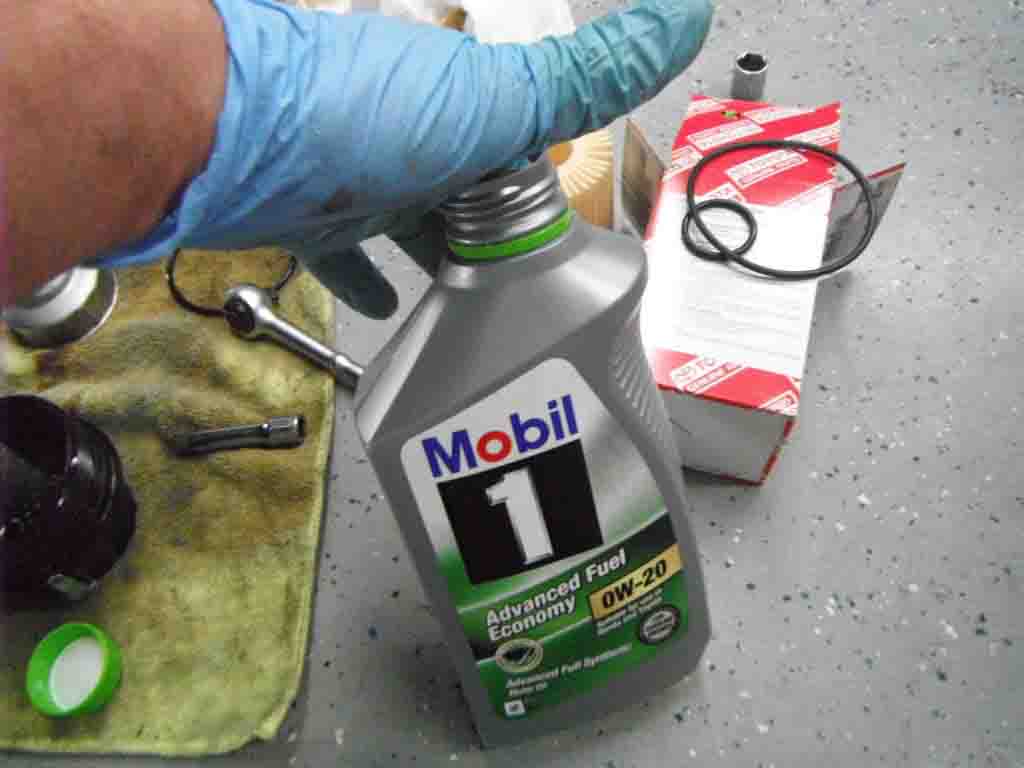
Fill it up with 6.6 quarts of fresh 0W-20 oil. Do NOT overfill! Pour in 6.5 quarts, and top off after you have started the truck and checked the level with the dipstick…
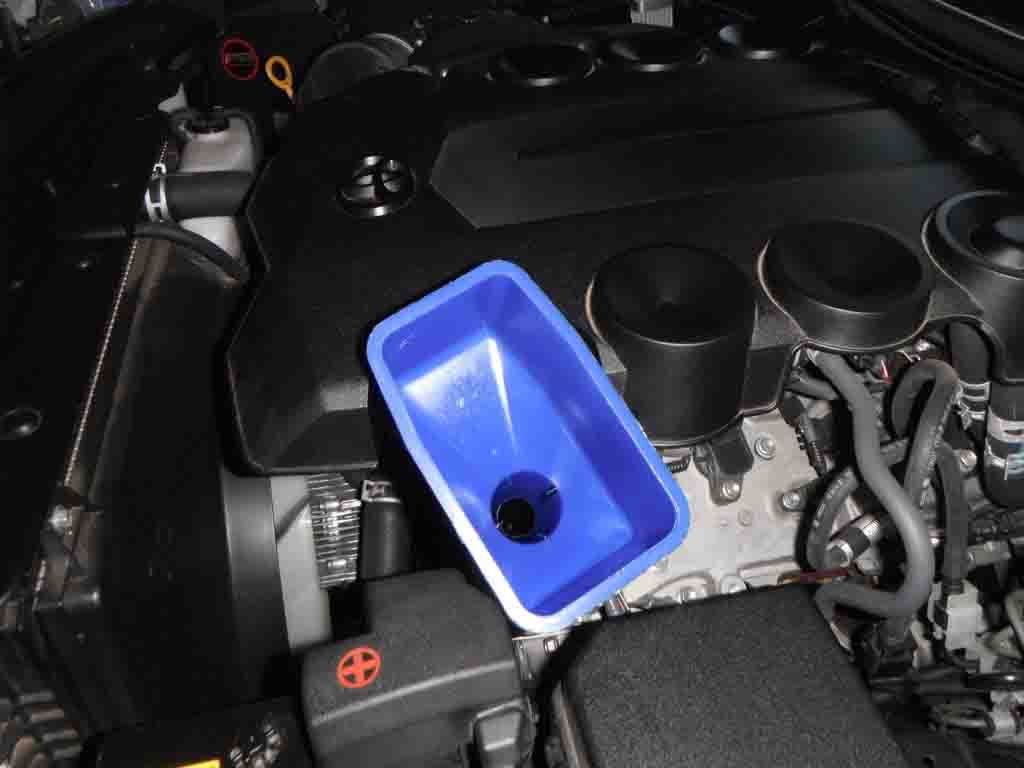
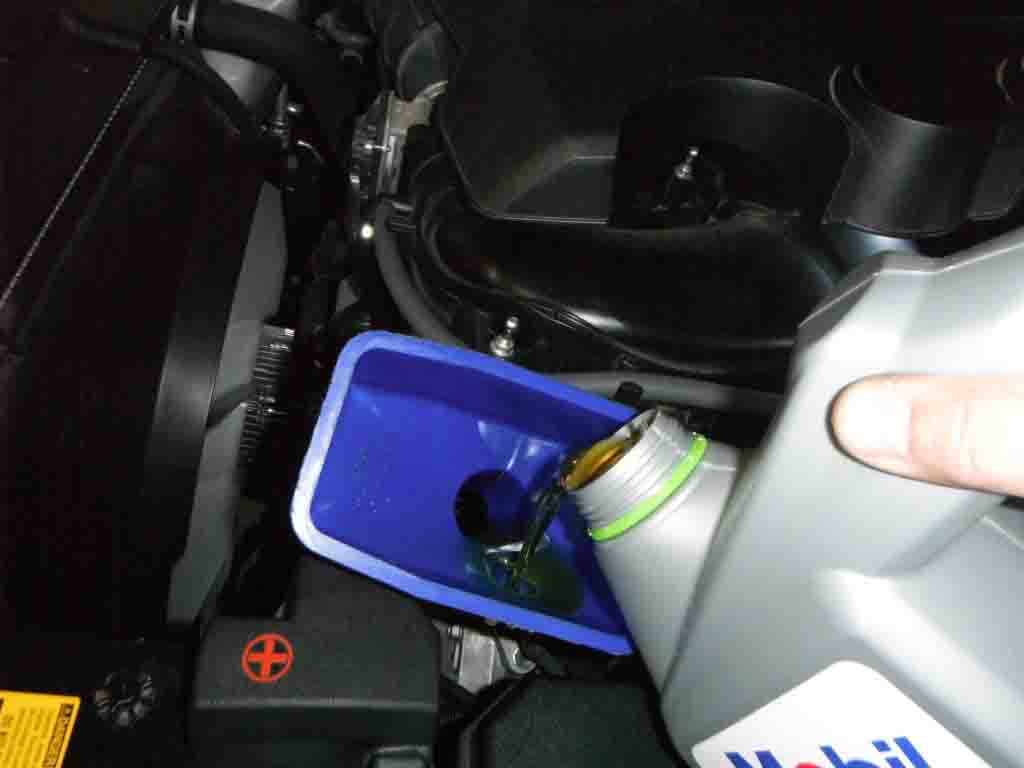
Look underneath for some leaks…No leaks, right?
Get inside and start the truck. The “Oil” idiot light should briefly illuminate and then turn off. If it doesn’t turn off,
SHUTDOWN THE ENGINE, and check to see what you screwed up….
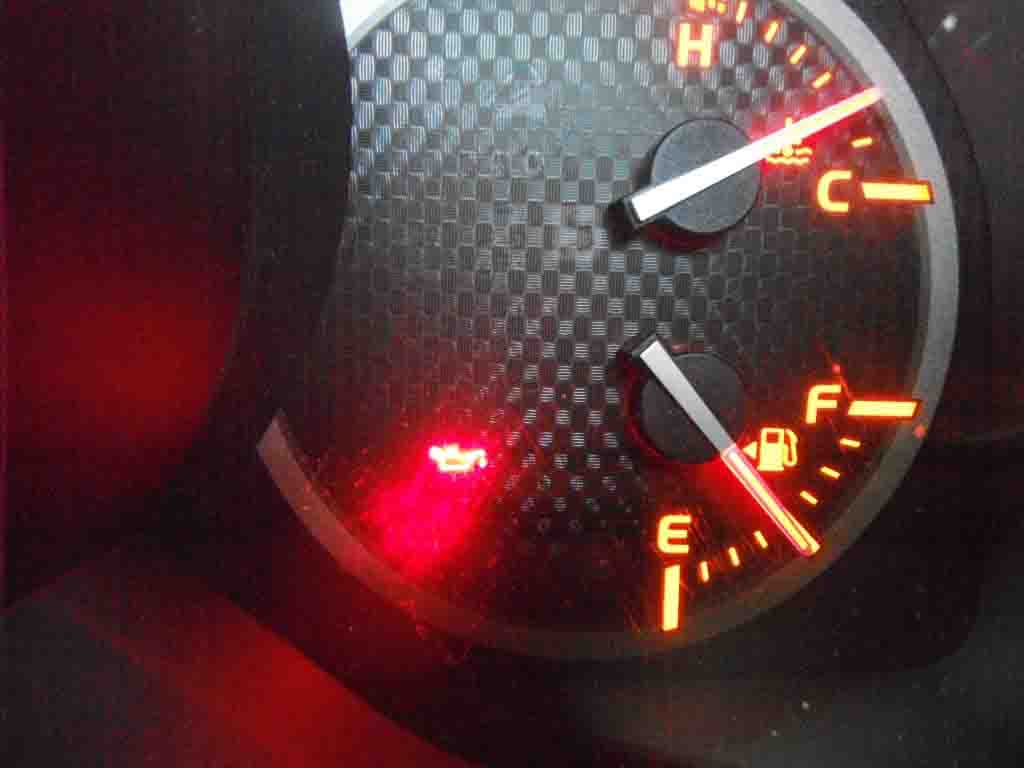
Check for leaks again. If there are no leaks go ahead and reinstall the skidplate (21 ft-lb) and the plastic cover. Remember- start all the screws and then tighten them.
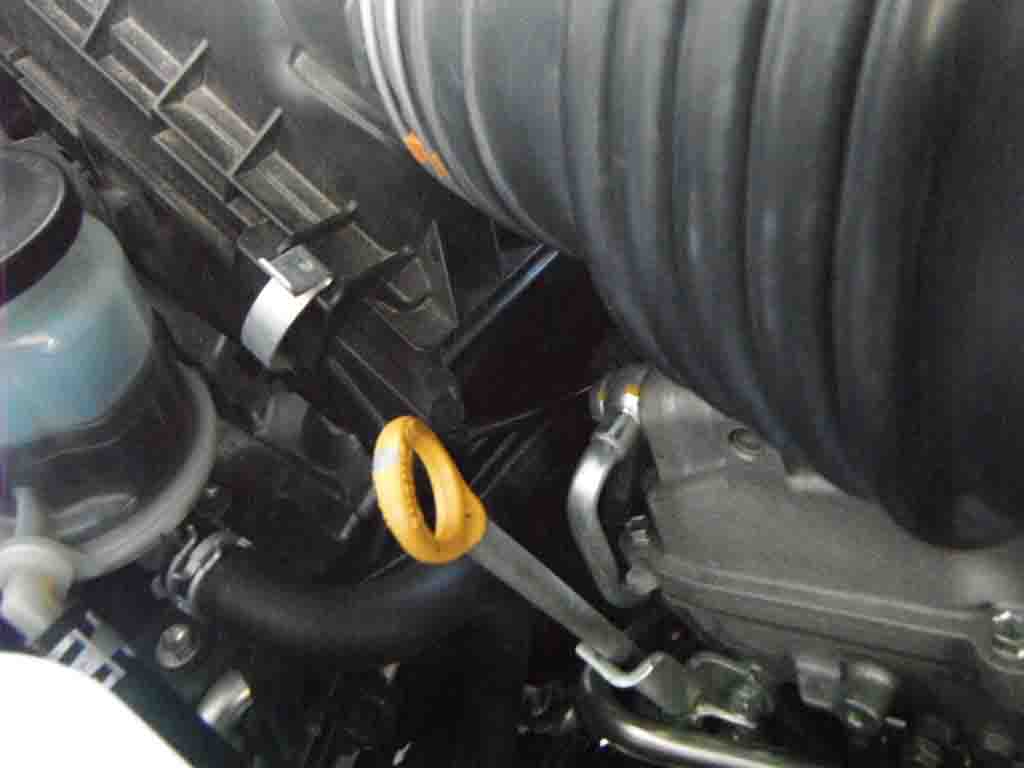
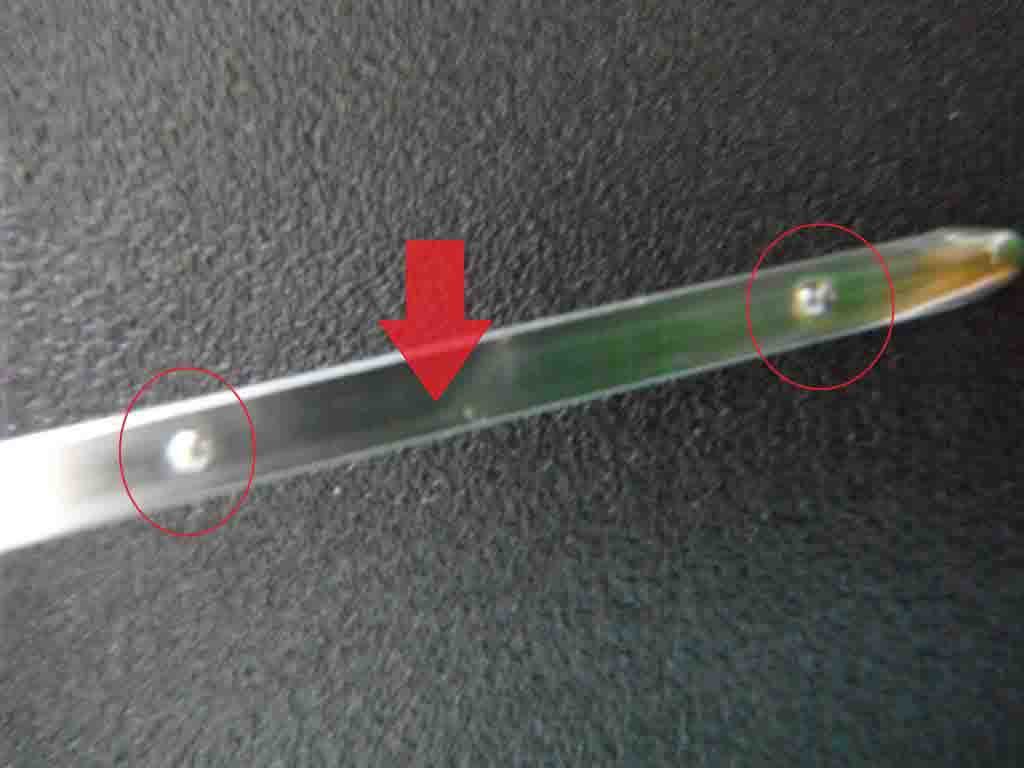
Make sure the truck is on level ground and check the oil level on the dipstick(engine OFF). Pull out the dipstick and wipe it off. Re-insert it into the tube until it’s fully seated and wait a few seconds. Carefully pull the dipstick back out and read the level. It should be between the 2 indicator dots on the stick. The oil is very clear and hard to see, so this may take a few tries! Add oil as necessary. If you have added too much, you will need to remove some from the drain pan, so…don’t add too much.
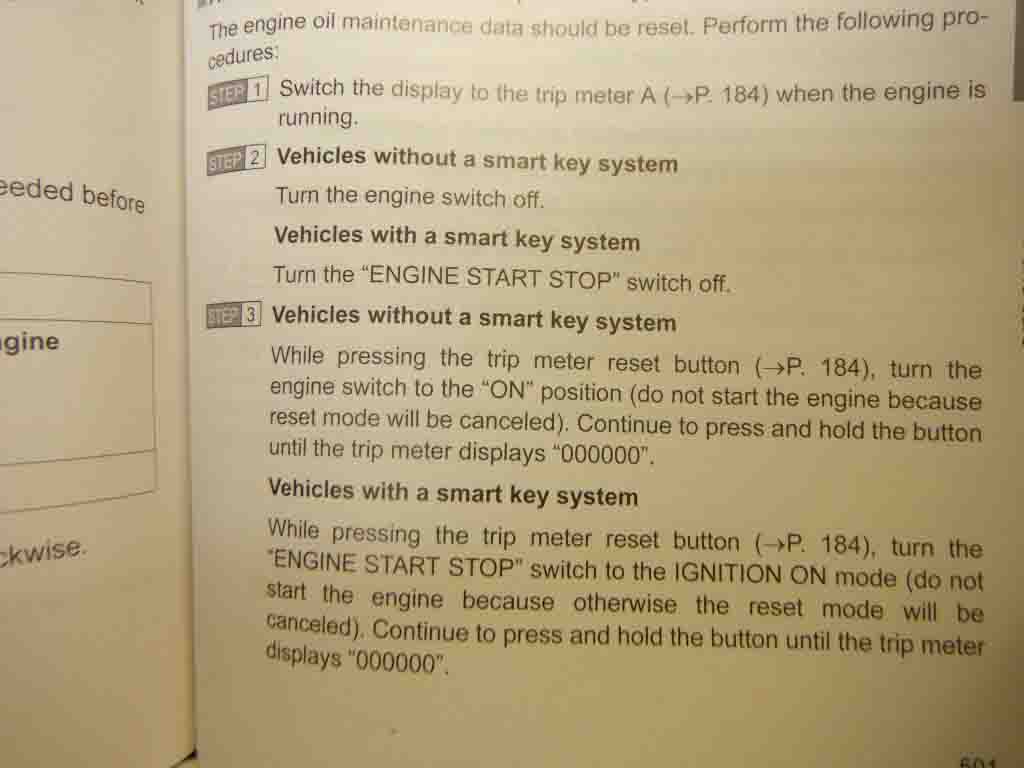
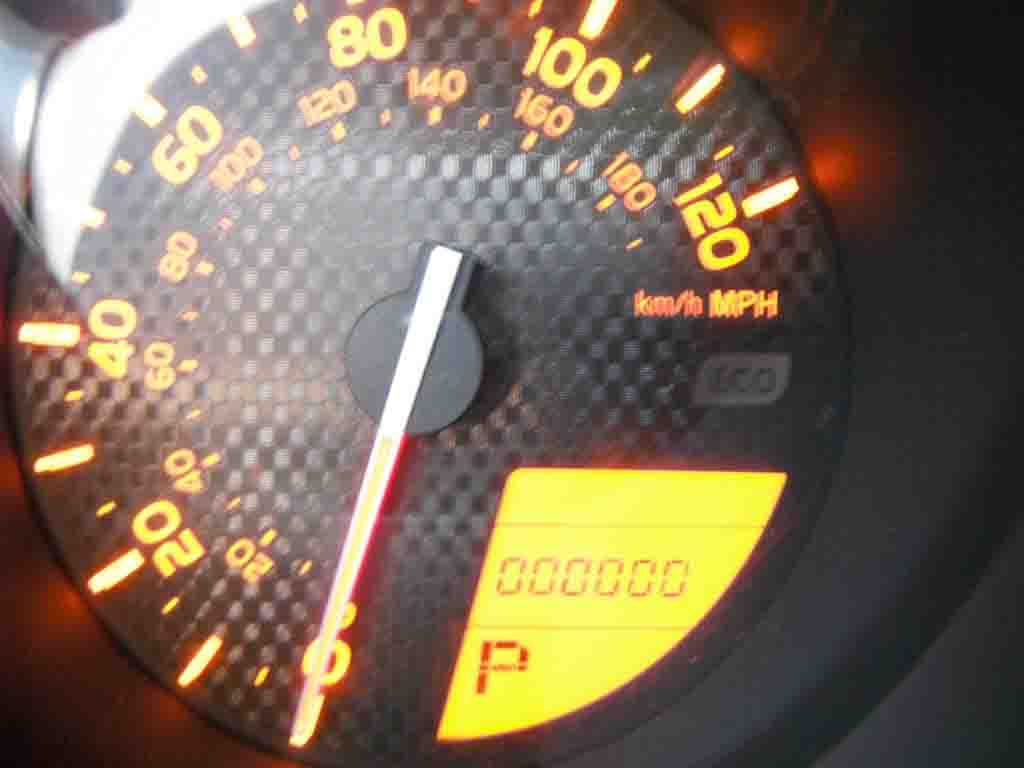
One more thing to do- Reset the oil-life indicator (maintenance minder).
Oh yeah- didn’t I tell you to have your owner’s manual handy?
Page 501, it details the procedure.
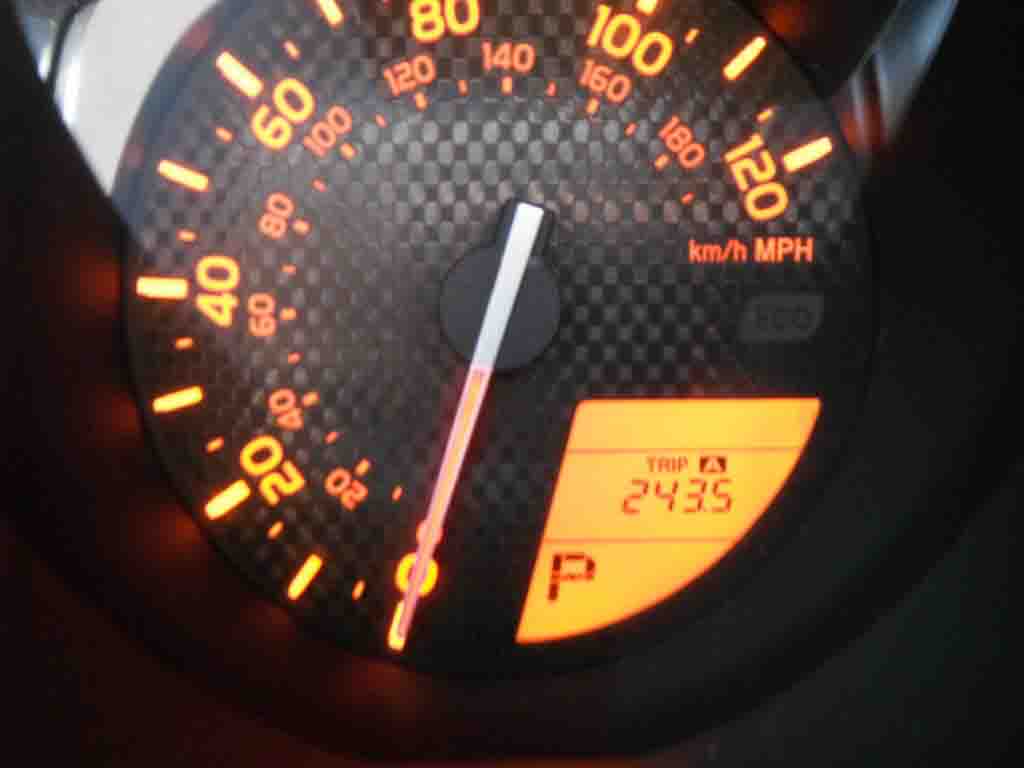
This is what the reset looks like on the SR5…
Wasn’t that fun? Changing your oil is actually a very satisfying (manly) thing to accomplish! I won’t trust anyone else to do it.
Make sure you dispose of your used oil responsibly.
http://www.toyota-4runner.org/5th-gen-t4rs/116417-oil-change-5th-gen-how-lots-pics.html