This post show you guide on how to solve Scania SDP3 diagnostic software can’t establish contact with the vehicle.When the program is started, a fault message appears indicating that the program cannot find any SOPS file. When you enter the program, it is empty.
Related Contents:
2024.07 Scania SDP3 V2.61.2 V2.40 Diagnostic Software Free Download
How to Setup WIFI for Scania VCI-3 VCI3 V2.21
Procedures:
1.Check that the VCI is connected.
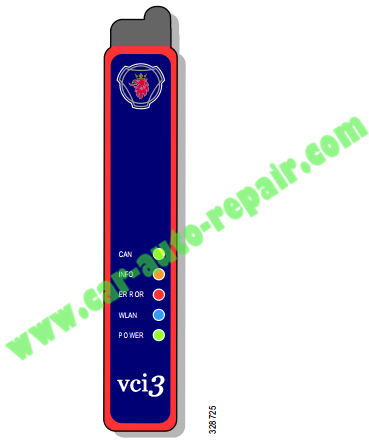
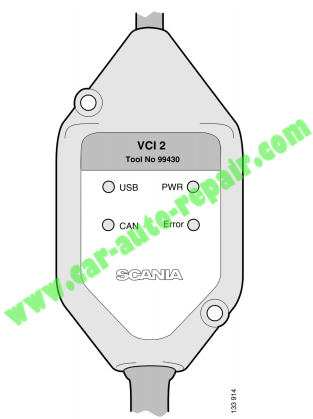
Function of the lamps
PWR (green) The lamp is constantly on when VCI3 is supplied with power.
VCI2: The lamp flashes when the VCI is connected to the PC.
CAN (yellow) The light lights up (flashes rapidly) when data is transmitted between the VCI and the vehicle via the CAN bus.
Error (red) The lamp lights up when there is a communication error on the CAN bus.
VCI2: USB (yellow)
The lamp lights up (flashes rapidly) when data is transmitted between the PC and VCI via the USB key.
VCI3: Info (orange)
The lamp flashes rapidly when general information is sent between the computer and VCI3.
VCI3: WLAN (blue)
The lamp is on or flashes when VCI3 is connected to a local network via wireless connection in one of the following ways: The lamp is constantly on when it is connected to a computer via a wireless network with a good signal strength. The lamp flashes slowly and steadily when VCI3 does not have contact with the computer but is connected to a wireless network with a good signal strength. The lamp flashes once per second if there is a fault during startup
2.Try to start the program again.
3.Check using the IVD function on the instrument cluster (diagnostic mode) that the ICL control unit can communicate with systems on the green CAN bus.
Note:On low-specification vehicles, it is not certain that there will be any systems on the green CAN bus.
Check via the instrument cluster which systems should be available on the vehicle and compare them with the CAN chart on the last page.
•If the ICL control unit has established contact with the green CAN bus, check whether there is an open circuit somewhere between the VCI2/VCI3 and the junction block for the green CAN bus (C479).
•If the ICL control unit has not established contact with the green CAN bus, continue troubleshooting as follows:
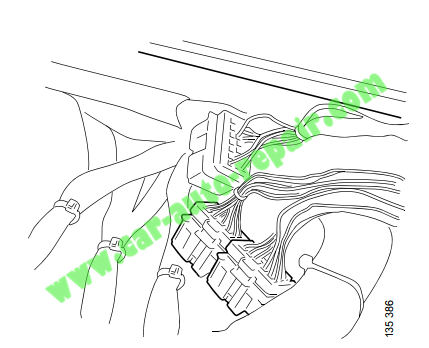
The junction blocks are concealed and located on the right-hand side of the central electric unit area. They are fitted in the holes without locking, which means that they can easily be taken out.
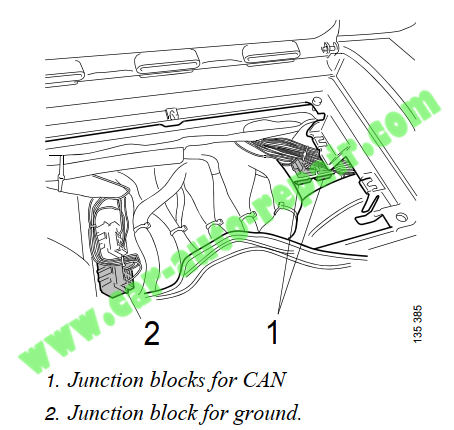
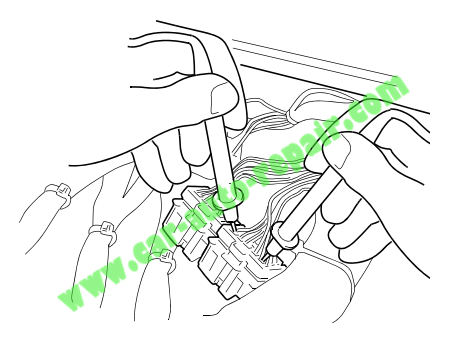
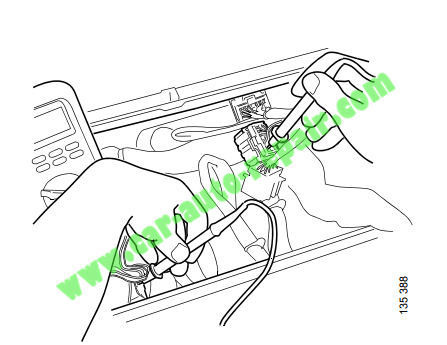
1.Switch on the voltage and measure the voltage level between chassis ground and the green CAN bus using a multimeter.
– The voltage should be approx. 2.5 V. You can measure on both CAN-high and CAN-low.
Note:
During the following measurement, all systems must be connected but not supplied with voltage.
2.Measure the resistance on the CAN cable between CAN high and CAN low.
– The resistance should be 54-60 ohm.
3.Measure the resistance between CAN high and chassis ground or between CAN low and chassis ground to check that the resistance is high enough.
– The resistance must be in the order of a megaohm or more. In most cases it is much more.
4.If the resistance is too low, take the switch apart and measure on the junction block for the green CAN bus for all cables in order to find out which control unit is faulty.
5.Disconnect the control unit concerned in order to determine whether there is a fault on the control unit or in the cable harness.
6.If there is a fault in the cable harness, troubleshoot according to the instructions set out in the document Electrical system in P,R and T series, Introduction and general troubleshooting.
