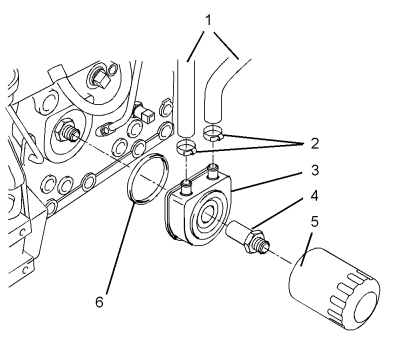
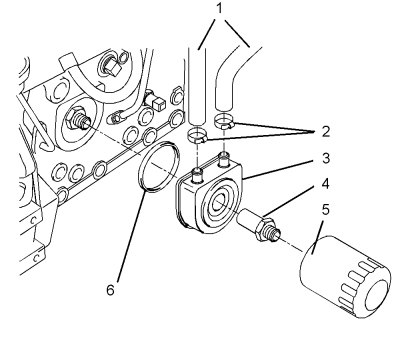
This instruction show you guide on how to remove and install engine oil cooler for Perkins 400A and 400D engine.
Preparations:
Perkins EST 2024A & 2023A & 2019A Software Free Download
Perkins SPI2 2018A EPC+Service Manual Free Download
Perkins Communication Adapter 3
Removal Procedure
1 Drain the coolant from the cooling system into a suitable container. Refer to Operation and
Maintenance Manual, “Cooling System Coolant -Drain” for the correct procedure.
2 Drain the engine lubricating oil into a suitable container. Refer to Operation and Maintenance
Manual, “Engine Oil and Filter – Change” for the correct procedure.

3 Use Tooling (A) to remove oil filter element (5).
4 Loosen hose clamps (2) and disconnect hoses (1).
Note the positions of the coolant inlet and the coolant outlet for installation.
5 Remove adapter (4) and remove oil cooler (3) from the cylinder block.
Note: Make a temporary mark in order to show the orientation of the oil cooler for installation.
6 Remove O-ring seal (6) from oil cooler (3).
Installation Procedure
1 Ensure that the oil cooler is clean and free from damage. Clean the mating surfaces of the cylinder block.

2 Install a new O-ring seal (6) to oil cooler (3).
Position oil cooler (3) on the cylinder block and install adapter (4). Tighten adapter (4) to a torque of 34 N·m (25 lb ft).
Note: Ensure that the oil cooler is correctly oriented.
3 Connect hoses (1) to the coolant inlet and the coolant outlet on oil cooler (3). Tighten hose clamps (2).
4 Install a new oil filter element (5).
5 Fill the cooling system to the correct level. Refer to
Operation and Maintenance Manual, “Cooling System Coolant – Fill” for the correct procedure.
6 Fill the engine oil pan to the correct level. Refer to Operation and Maintenance Manual, “Engine Oil Filter – Change” for the correct procedure.
More trouble repair case for Perkins,pls refer to:Perkins Trouble Repair