Here is a step-by-step guide on how to remove and install the ELF 2 for Still RX20 forklift truck.If you want to get more repair information for Still forklift,please refer to:STILL STEDS Forklift 8.19 8.18 2019 EPC & Diagnostics Free Download
Procedures:
Removing:
– Park the truck securely. See the chapter entitled “Parking the truck so it is secured for service work”.
– Disconnect the battery male connector.
Release the ELF 2 up to the adjusting dimension. To do so, follow the steps below:
– Use the emergency actuation hand wheel to turn the spindle to the lower mechanical stop.
– Turn the spindle back 2 to 2.5 turns.
The switch 1S3 will now be just at the switching point.
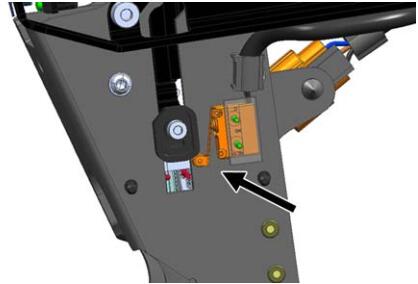
Remove the panelling on the left-hand side.
See the chapter entitled “Panelling on the driver’s compartment”.
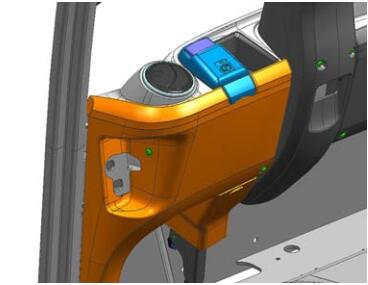
Release the hose from the frame. Remove the frame.
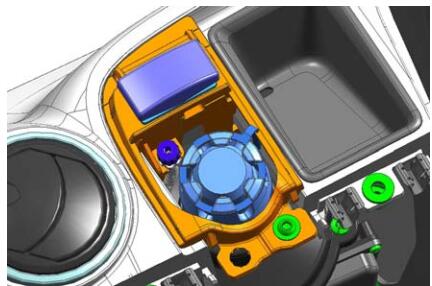
– Disconnect plug X506 and switch 1S3 and the toggle switch.
–Remove the brake cable from the automatic cable adjustment. See the chapter entitled “Changing and adjusting the brake cable”.
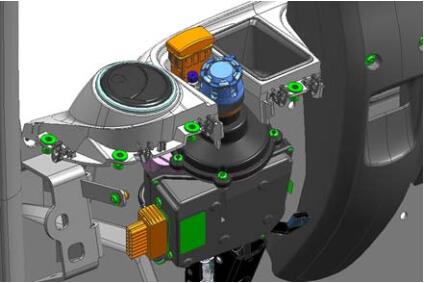
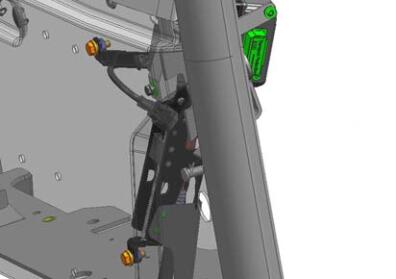
Unscrew two screws on the front structure.
The ELF 2 is then released and easily drops out of the holder towards the rear.
Installation
– Position the ELF 2 on the front structure and secure it with two screws.
– Connect plug X506 and switch 1S3 and the toggle switch.
– Clip in the frame. Attach the hose to the frame.
– Install and adjust the brake cable in the cable automatic adjustment. See the chapter entitled “Changing and adjusting the brake cable”.
– Fit the panelling on the left-hand side. See the chapter entitled “Panelling on the driver’s compartment”.
– Start calibration.
– Carry out a functional test on the brake.