Here is the instruction show you guide on how to remove main fuel tank for CLAAS AXION 950 tractor.
Related Contents:
CLAAS CDS 7.5 Diagnostic Software 2021 2020 Free Download
CLAAS 4x CAN Diagnostic Interface
Claas WebTIC Offline Repair & Service 2024 2015 Free Download
Procedures:
Removal
► Remove the rear left-hand wheel.
► Drain the tank
► Set the battery master switch to the off position.
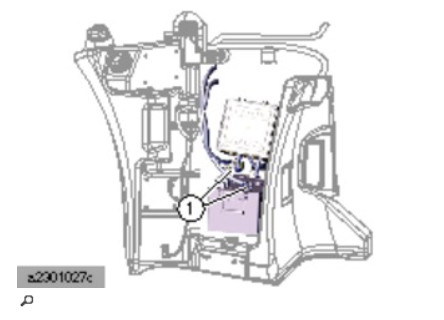
► Remove the cables (1).
► Remove the battery.
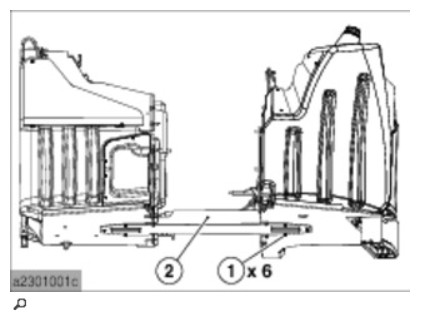
► Remove the mounting nuts (1).
► Remove the protection panel between the two tanks (2).
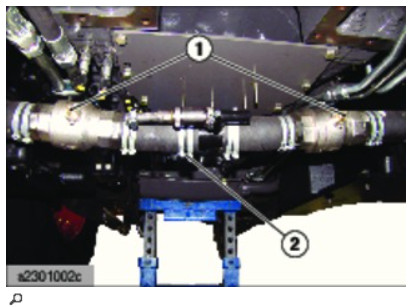
► Close the isolation valves (1).
Note: If there is still fuel in the tank, the handle can be removed to prevent the valve from opening when a tank is being transported:
► Remove the collars (2).
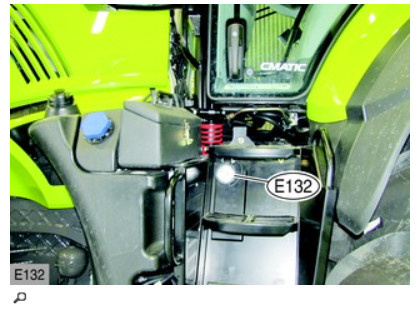
► Disconnect the “E132” work light.
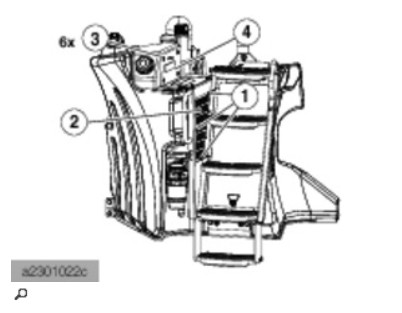
► Remove the mounting bolts (1).
► Remove the grille (2).
► Remove the mounting bolts (3).
► Remove the panel (4).
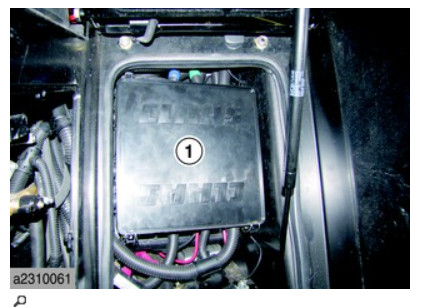
► Remove the cover (1).
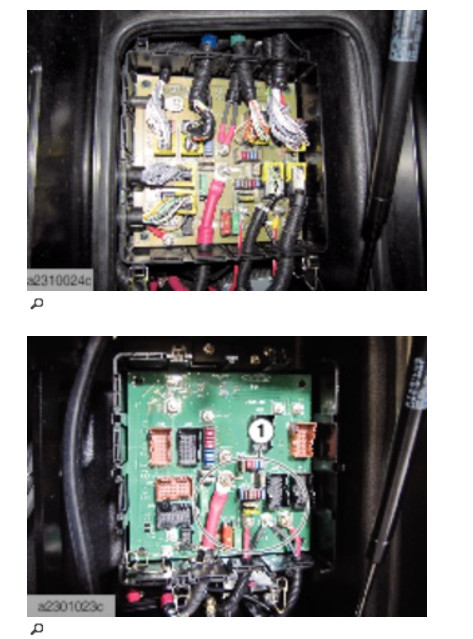
► Mark and remove the harnesses.
► Leave the harnesses (1) on the plate.
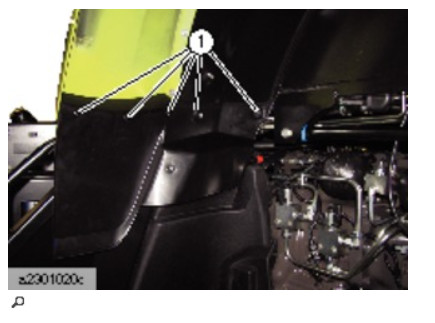
► Remove the bolts (1).
► Remove the tank flap.
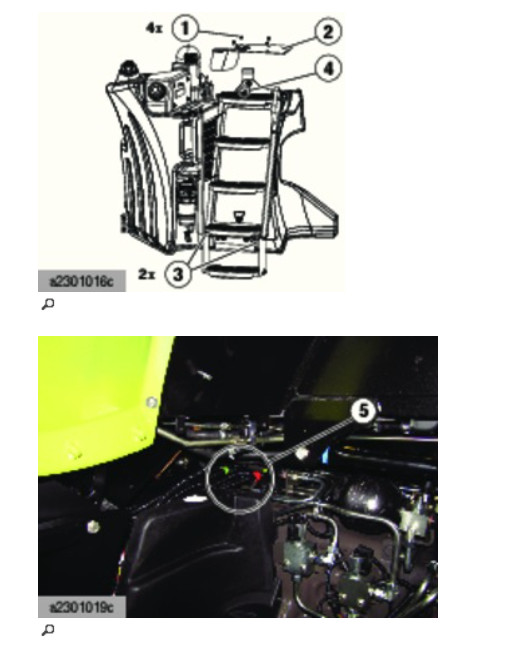
► Remove the bolts (1).
► Remove the panel (2).
► Remove the bolts (3) to tilt the last step.
► Support the tank using a lifting table.
► Remove the bolts (4).
► Tilt and lock the step to access the harnesses.
► Cut the collars (5).
► Fit all the harnesses (5) on the gearbox.
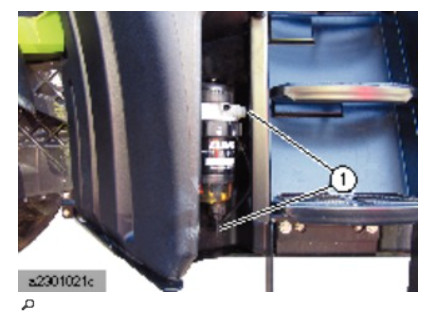
► Disconnect the connections (1).
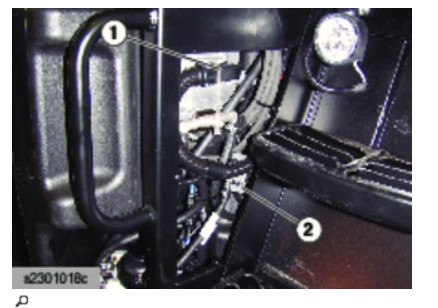
► Disconnect the connections (1) and (2).
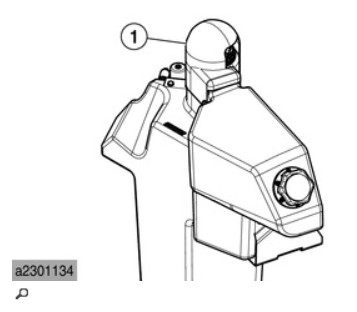
► Remove the cover of the gauge (1).
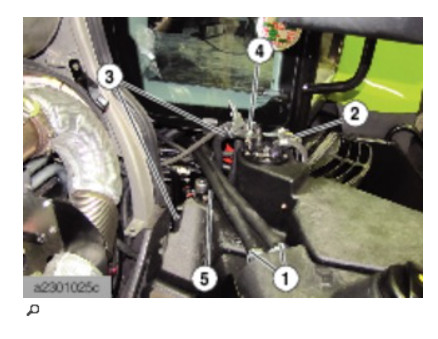
► Remove the pipes (1).
► Disconnect the gauge plug (2).
► Fit the special tools on the coolant hoses (3).
► Remove the coolant hoses (3).
► Remove the overfill tube (4).
► Disconnect the connector (5).
► Move the harnesses corresponding to the front part on the engine.
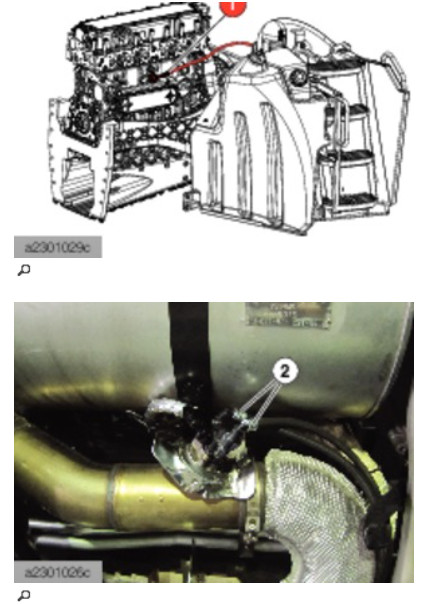
► Disconnect the connector (1).
► Remove the pipes (2).
► Place the harness (1) and the pipes (2) on the tank.
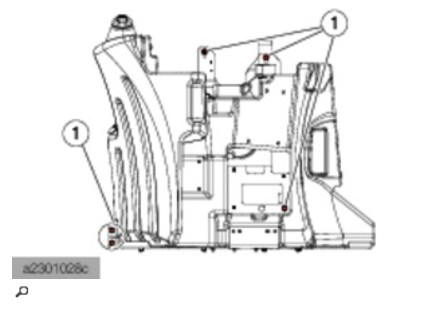
► Remove the mounting bolts (1).
► Remove the tank.
More repair case for CLAAS,please refer to CLAAS Trouble Repair