AGCO EDT diagnostic software is unfamiliar for many machine workshop,here car-auto-repair.com show you guide on how to use AGCO EDT to start diagnostic work for AGCO machine.
Tool Requires:
Procedures:
Connect AGCO 2×4 CANUSB diagnostic kit to AGCO machine,then start AGCO EDT software.
After then it will show connected status on the EDT software like below picture show.
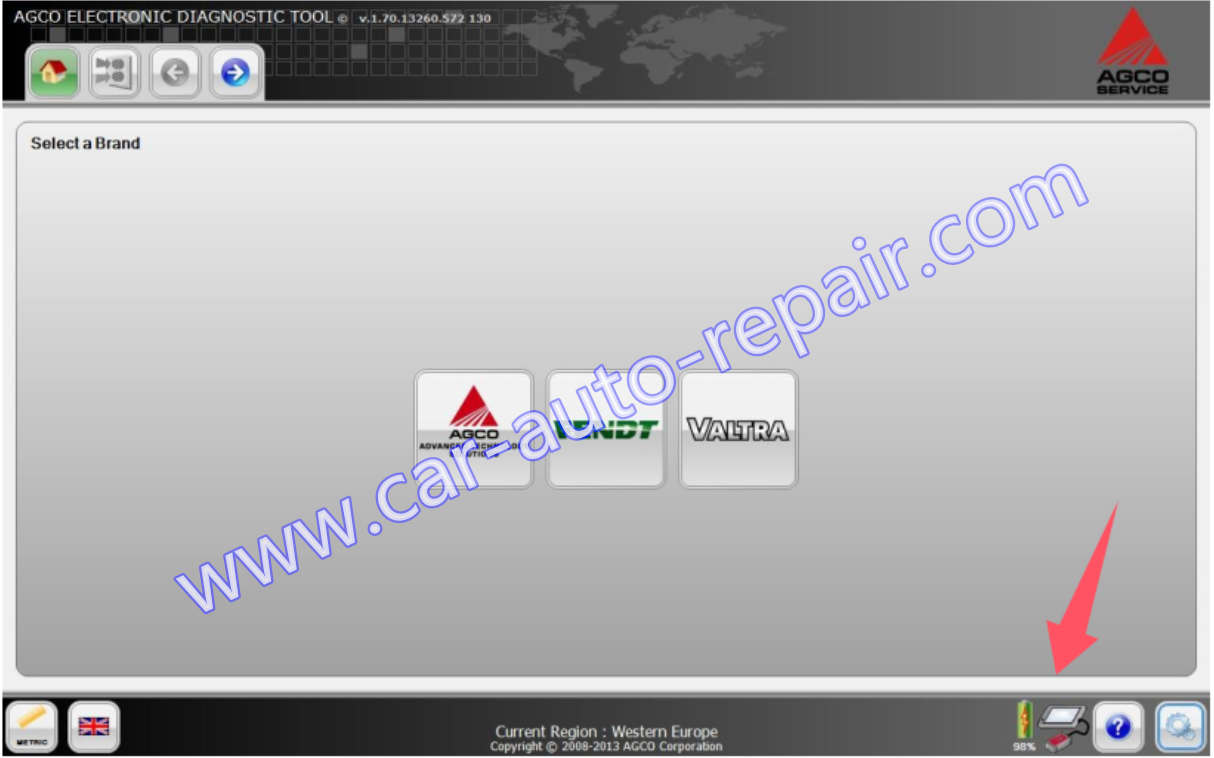
Select brand and vehicle models
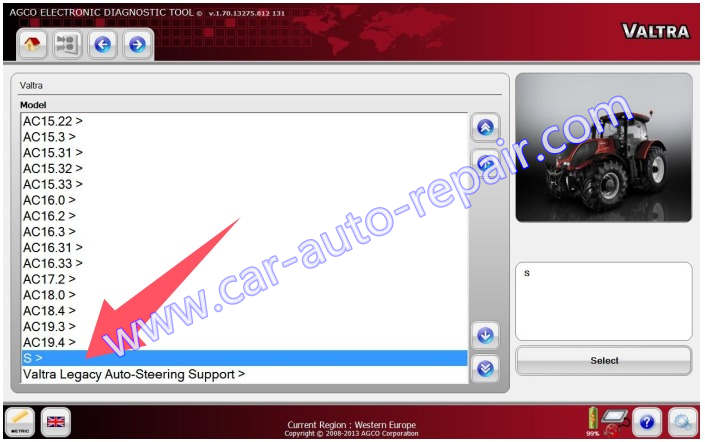
Notice: To select a model, highlight the model using the up and down arrows at the right, or use the touch screen. Then press the Select icon.
After the desired model is selected, the screen will display the available connections.
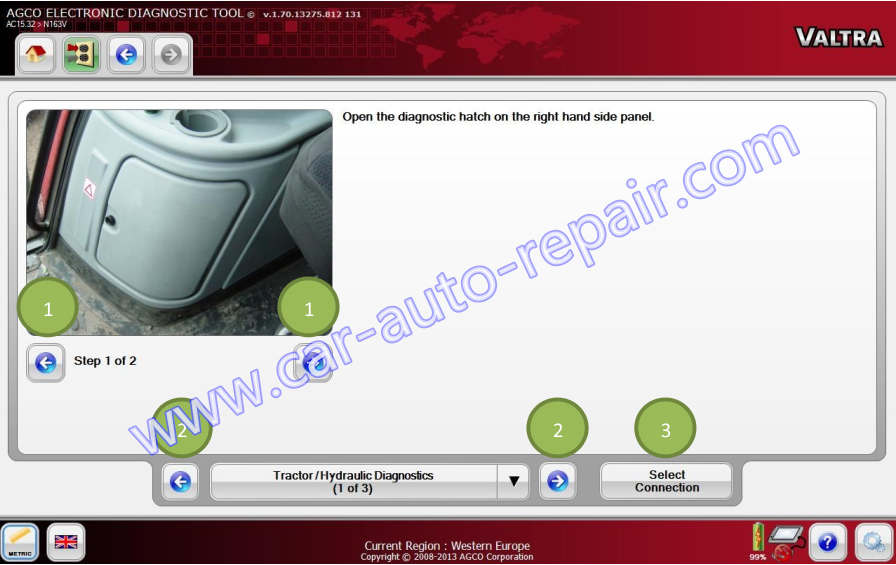
Scroll through the steps (1) for further instruction on the connection points. Navigate through the connections using the left and right arrow icons (2). Select the desired connection by selecting the “Select Connection” icon (3).
Note:The EDT can be ON when connecting to a vehicle. The vehicle must be OFF during connection of the EDT to the vehicle’s diagnostic port.

A group of navigation icons appears after the Diagnostics Connection page.These options are not available until after a vehicle has been selected. The selected icon will be highlighted in green.
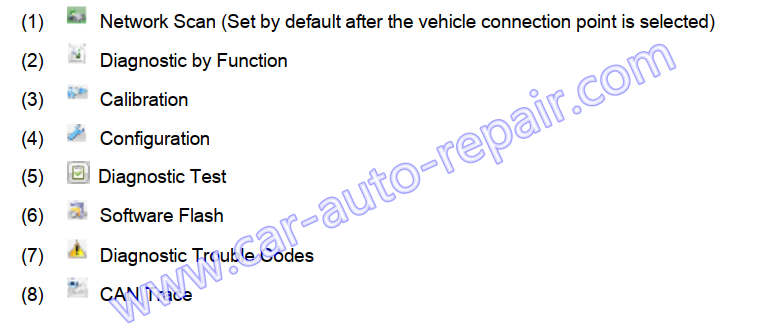
Now you can start diagnostic work on the menu bar function.