What is EL327?
The ELM327 is a programmed microcontroller produced by ELM Electronics for translating the on-board diagnostics (OBD) interface found in most modern cars. The ELM327 command protocol is one of the most popular PC-to-OBD interface standards and is also implemented by other vendors.
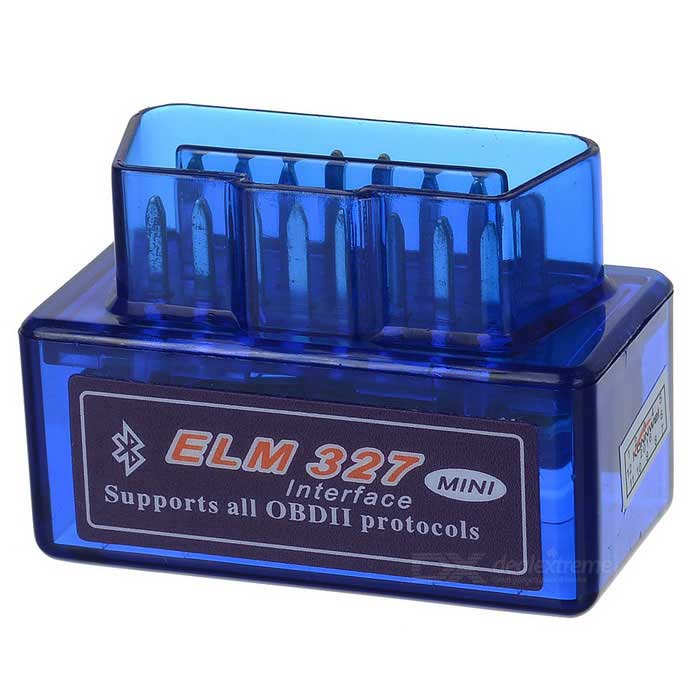
ELM327 Functions List
Read diagnostic trouble codes, both generic and manufacturer-specific, and display their meaning (over 3000 generic code definitions in the database).
Clear trouble codes and turn off the MIL (“Check Engine” light)
Display current sensor data
Engine RPM
Calculated Load Value
Coolant Temperature
Fuel System Status
Vehicle Speed
Short Term Fuel Trim
Long Term Fuel Trim
Intake Manifold Pressure
Timing Advance
Intake Air Temperature
Air Flow Rate
Absolute Throttle Position
Oxygen sensor voltages/associated short term fuel trims
Fuel System status
Fuel Pressure
ELM327 Support Protocols
Elm327 covers most of the currently available OBD2 protocols like:
ISO 15765-4 CAN
SAE J1850 PWM
SAE J1850 VPW
ISO 9141-2
ISO 14230-4
SAE J1939
Basically it means that Elm327 covers most of the currently available vehicles for full engine diagnostic.
ELM327 Software Free Download:
Below you can find a list of Freeware and Shareware Software for Genuine Elm327 Interfaces. Please remember that the latest versions of OBD2 pragrams are ONLY compatible with GENUINE Elm327 Tools. Due to the current copyrights all software downloads are ONLY available from the Official Author/Owner Websites. This website is only a guide where to look for Elm327 Compatible Software.
How to use ELM327 Scanner?
Preparation:
Before we can begin you need:
Vehicle but not too old[Not under-1995 year ]
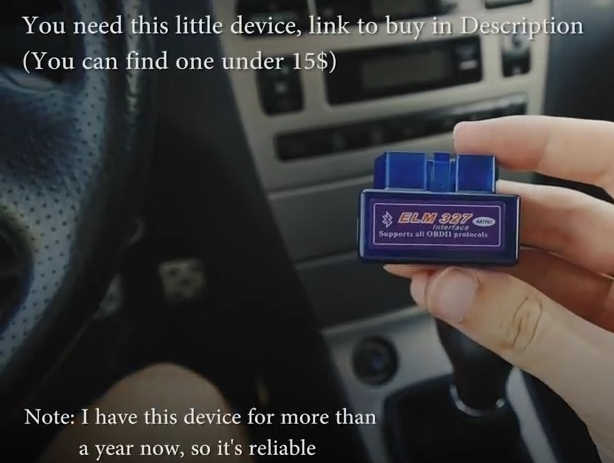
Super Mini OBDII ELM327 Scanner
Torque Pro Application[You can download free version in AppStore]
Here I take this ELM327(show as bellow pic) scanner read & clear DTCs for Toyota Corolla TS as a example:
Procedures:
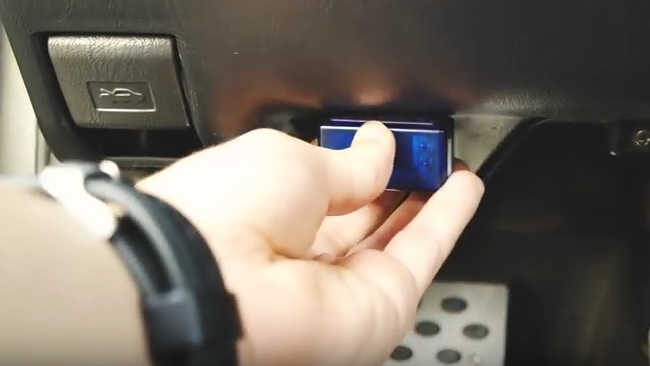
Plug the ELM327 scanner into OBD jack,usually the jack is placed just above pedals.
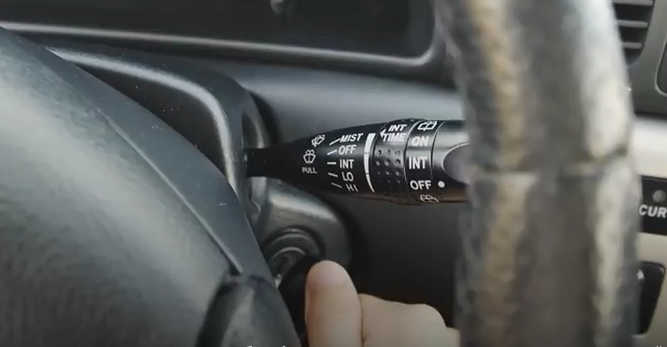
Turn the ignition to contact,you don’t need to turn on the engine(but you can do just in case)
Note:But be sure to shut headlights down to not empty your accumulator!
Turn your mobile GPS/Location on.
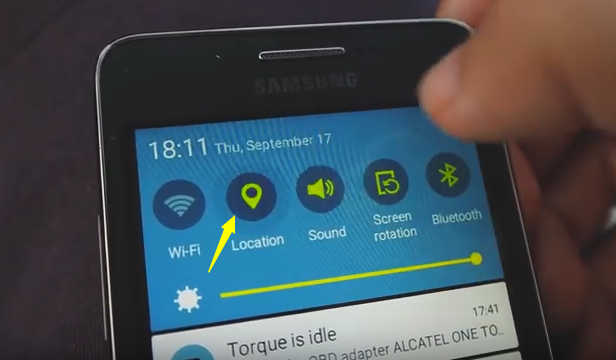
Now turn on Bluetooth
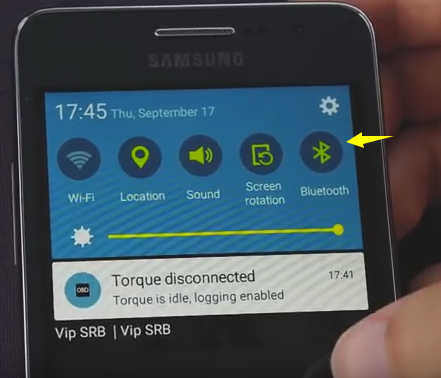
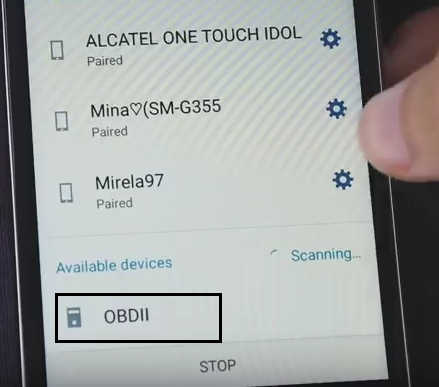
Scanning OBD II to connect
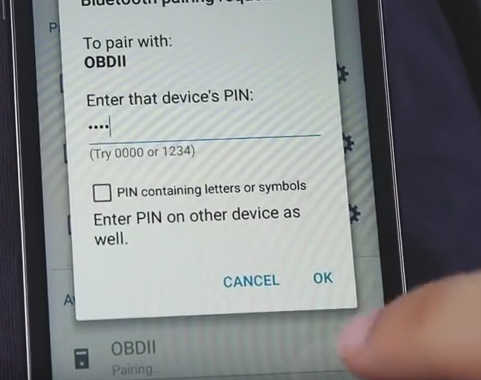
Then enter the device’s PIN(Pair with OBDII,Pass is 1234 or 0000)
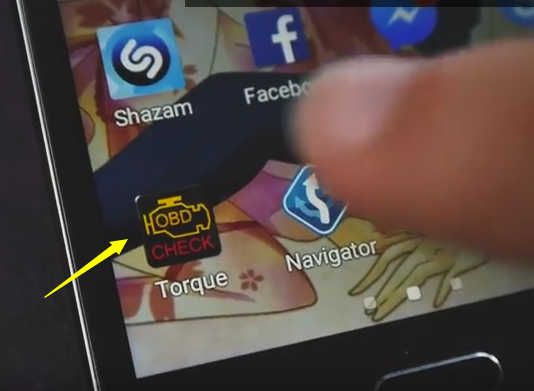
Run the ELM327 Torque Pro App on your mobile
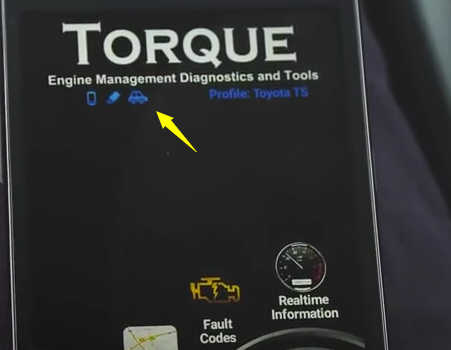
When blue car icon appears that means you are connected!
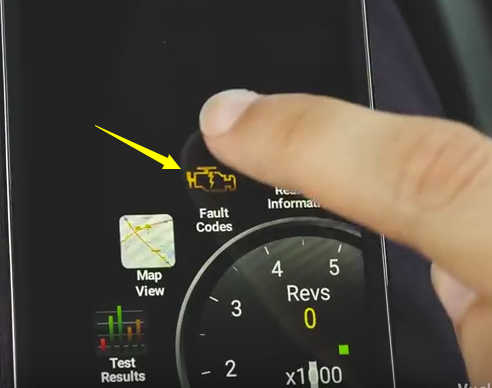
Tap the “Fault Code” icon
Tap the “search” icon to scan for faults,or press menu for more options
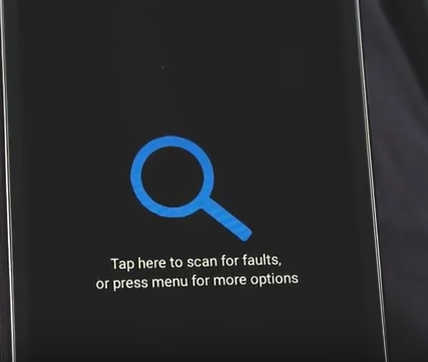
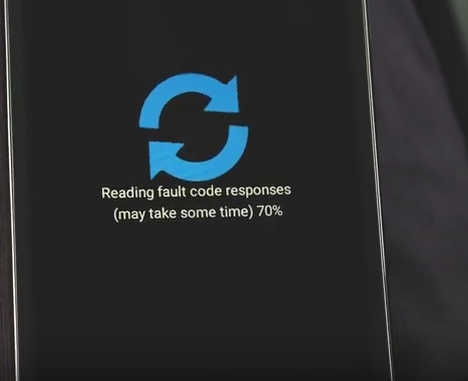
Then it will take some time to reading fault code
Wait for progress completing
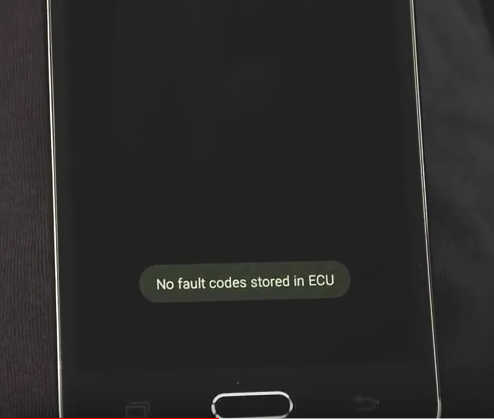
It prompt that “No fault codes stored in ECU”
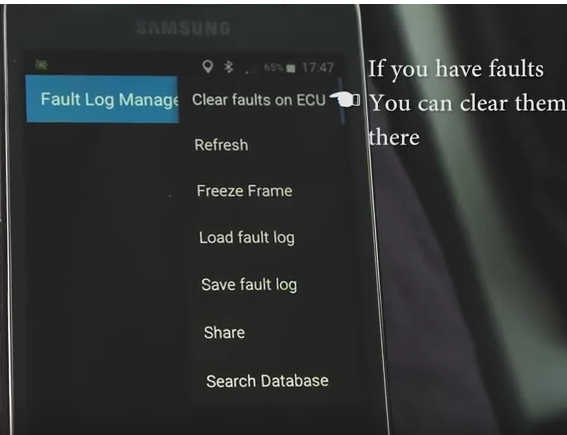
Tap the pull-down list at the top right corner,and if your car have fault,you can clear them there.
And also search online for solution
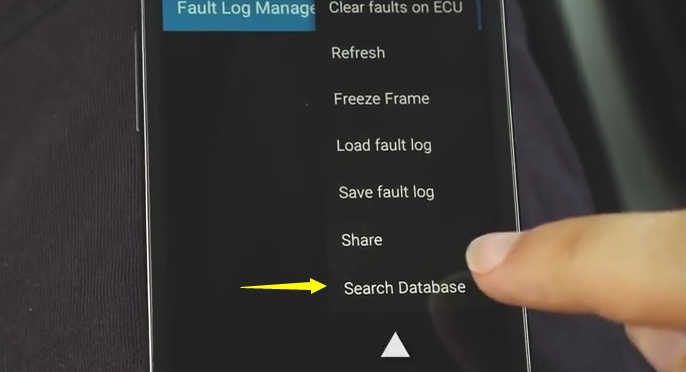
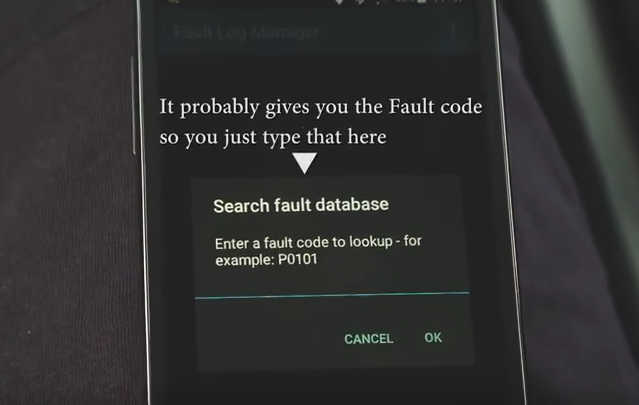
It probably gives you the Fault code so you just type that here,I enter “P0101”
Then you will the Fault code mean
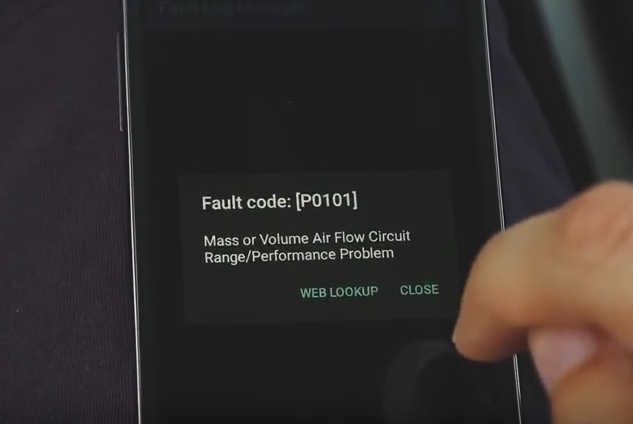
Select “WEB LOOKUP” to check the Fault code detail on internet
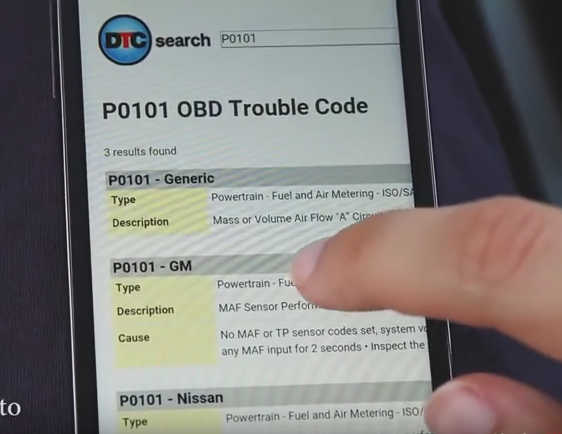
After you are done,turn the contace off,and then you can take of the ELM327 scanner.
How to easy Read/Clear car Fault Codes [ELM327] OBD II Video Guide:
ELM327 Bluetooth Setup
Bluetooth Android Setup
Setup of the OBD-II Interface is quick and easy an in just a few steps you will be connected and receiving information from you vehicle. Troubleshooting and suggestion bullet points are included in this setup guide but are included only as a point of reference to help you get connected and monitoring your vehicles vitals as quickly as possible.
1.Start your vehicle or at minimum have the ignition switch on.
2.Connect the ELM327 interface to the OBD-II adapter in your vehicle.
The OBDII plug is normally located under the steering column or dash board, about 3 feet away from the driver.
3.Locate and enable Bluetooth on your Smartphone or Tablet.
Click the Menu icon, click Settings, click Wireless & Networks, and finally click Bluetooth Settings.
4.Scan for and locate new hardware.
It may show up as 00:13:EF:00:0A:69 or similar but will resolve to OBD-II or similar.
If scan results come up empty, unplug the interface and plug it back in and be sure you in transmission range of the Bluetooth signal. If this continues, try it in another vehicle.
5.After the OBD-II Interface has been located pair it using the code “1234” or “6789”.
6.Install the ELM327 app of your choice.
We suggest Torque Free for Android, you can find this in Google Play.
7.Open the app and proceed to set the software up to connect to your OBD-II diagnostic tool. In Torque you will need to select the Bluetooth Device from the preferences menu.
8.Go Online with your vehicle to begin collecting real-time data and trouble codes from the ECU. The process for each software package will be different but is generally self-explanatory.
Bluetooth Windows Setup
1.Start your vehicle or at minimum have the ignition switch on.
2.Connect the ELM327 interface to the OBD-II adapter in your vehicle.
The OBDII plug is normally located under the steering column or dash board, about 3 feet away from the driver.
3.Turn on your computer locate the Bluetooth settings.
In Windows you may have a Bluetooth icon in your task bar tray, you can click that.
4.Scan for and locate new hardware.
It may show up as 00:13:EF:00:0A:69 or similar but will resolve to OBD-II.
If scan results come up empty, unplug the interface and plug it back in and be sure you in transmission range of the Bluetooth signal. If the trouble persists try connecting in a different vehicle.
5.After the OBD-II Interface has been located pair it using the code “1234” or “6789”.
The drivers will begin to install, if not, make sure you are connected to the internet and that Windows is allowed to download and update drivers. The drivers are required for operation, if they do not install you may have to manually install them.
6.Install the software package of your choice.
Easy OBD-II is a real basic package to begin with however ScanMaster-ELM is more comprehensive and will automatically detect the COM-Port for the Elm which is a plus.
7.Open the software and proceed to connect to your OBD-II diagnostic tool. If the application asks for a COM-Port, select the COM-Port that the device connected; this information can be found in the Device Manager.
If you’re not sure which COM-Port to set, you can find it in the Device Manager under the ‘Ports (COM & LPT)’ heading. By disconnecting and reconnecting the device you will be able to see it appear in the manager. If the COM Port is set too high (higher than the software allows), you may proceed by re-assigning it to a lower COM Port from the properties menu.
If after changing the COM Port you are unable to connect to the interface but the software recognizes it, you need to reset the device settings by right clicking and un-installing the drivers from the Device Manager and un-pairing the device from the Bluetooth menu. Reconnect the adapter and pair it to your computer to reinstall the drivers.
8Go Online with your vehicle to begin collecting real-time data and trouble codes from the ECU. The process for each software package will be slightly different but self-explanatory.
Window USB Setup:
1.Install the ELM327 OBD2 software package of your choice.
For ease of use we suggest the ScanMaster-ELM Demo or EasyOBD-II
2.Connect the ELM Interface to your computer and allow the drivers to automatically install.
Make sure your computer is connected to the internet and your computer is allowed to download new drivers.
If the drivers fail to install, attempt to install the drivers manually.
3.Identify the COM-Port associated to the device in the Device Manager.
Consider opening the device manager before you plug in the OBD-II adapter so you can see the item added to the device list in real-time.
4.Start your vehicle or have the ignition switch on with power to the battery.
5.Connect your ELM327 Interface to the OBD-II adapter in your vehicle.
The OBDII plug is normally located under the steering column; No tools are required to locate it. If you are having trouble, keep in mind that it is no further than 3 feet away from the driver.
6.Open the OBD-II software and connect to the interface by selecting the COM-Port associated to the device.
If the COM-Port is set higher than the software allows, you will need to change the COM-Port in the Device Manager by right clicking on properties. More information about this is provided in our Comprehensive ELM327 Guide.
If the software fails to connect to the interface, un-install it from the Device Manger and reinstall the drivers by plugging in back in.
7.Go online and connect to the vehicles ECU. Trouble codes and real-time data should now be available to you.
iPhone WiFi Setup
1.Start your vehicle or make sure the ignition switch has power to the battery.
2.Connect the ELM Interface to your vehicle.
3.Go to your iPhone or iPad Settings > General > Network > Wi-Fi
4.Change Settings for the Wi-Fi OBD Network to the following
Change the first setting from DHCP to Static.
Enter IP Address: 192.168.0.10
Enter Subnet Mask: 255.255.255.0.
Change HTTP Proxy to Auto.
5.Go back to Wi-Fi Networks, Scan for and join the Wi-Fi OBD Network, if it asks for a password enter “12345678”
6.Open the software application of your choice, DashCommand or to start an inexpensive alternative is RevLite.
7.In DashCommand go to Settings, Change Auto Connect to On and OBD-II Interface Type to ELM. Go back to the main menu and click Connection to access the ELM327 Hardware and connect to your vehicle. In RevLite go to settings and Set Kiwi Wifi as your hardware and click custom, enter 192.168.0.11 as the IP address and 35000 as the port. The software will detect the hardware and connect to your vehicle.
8.Trouble codes and real-time data should now be available to you.
Window WiFi Setup:
1.Start your vehicle or make sure the ignition switch has power to the battery.
2.Connect the ELM Interface to your vehicle.
3.Connect to the Wi-Fi OBD Network, if it asks for a password enter “12345678”
4.Locate your Wireless Adapter Settings within the Network Connections Control Panel > Right-Click Properties > Select Internet Protocol Version 4 > Click Properties. On the following screen assign the following IP Address: 192.168.0.11 and Subnet Mask: 255.255.255.0
5.Install and Open the ScanMaster-ELM Demo Software
6.Click Options, Communication and Set Interface Type: WLAN, IP Address: 192.168.0.10 & Port: 35000
7.Navigate to the Start Menu Tab and click Connect
8.The ELM327 adapter should begin sending real-time data and trouble codes to your computer.